FastReport .NET provides enough opportunities for customization of its report designer.
In this article, we'll look at how to replace the built-in SQL query editor with Active Query Builder.
- To get started, you need to download the latest version of Active Query Builder for .NET from the developer's site http://www.activequerybuilder.com/. At the time of publication, this is version 3.4.9.1086. Install the library with the help of the downloaded installer.
- For the demonstration, create the WindowsForms application. We add references to Active Query Builder libraries in the project. You will need the following libraries, which you will find in the folder with the installed program (C:\Program Files\ActiveDBSoft\Active Query Builder 3 .NET\assemblies):
- ActiveQueryBuilder.AdvantageMetadataProvider;
- ActiveQueryBuilder.Core;
- ActiveQueryBuilder.DB2MetadataProvider;
- ActiveQueryBuilder.FirebirdMetadataProvider;
- ActiveQueryBuilder.MSSQLCEMetadataProvider;
- ActiveQueryBuilder.InformixMetadataProvider;
- ActiveQueryBuilder.MSSQLMetadataProvider;
- ActiveQueryBuilder.MySQLMetadataProvider;
- ActiveQueryBuilder.ODBCMetadataProvider;
- ActiveQueryBuilder.OLEDBMetadataProvider;
- ActiveQueryBuilder.OracleMetadataProvider;
- ActiveQueryBuilder.OracleNativeMetadataProvider;
- ActiveQueryBuilder.PostgreSQLMetadataProvider;
- ActiveQueryBuilder.SQLiteMetadataProvider;
- ActiveQueryBuilder.SybaseMetadataProvider;
- ActiveQueryBuilder.UniversalMetadataProvider;
- ActiveQueryBuilder.View;
- ActiveQueryBuilder.View.WinForms;
- ActiveQueryBuilder.View.WPF;
- ActiveQueryBuilder.VistaDB5MetadataProvider.
Also, the libraries are required:
- FastReport;
- FastReport.Bars;
- FastReport.Editor.
And now add the file to the project. It is a plugin for working with ActiveQueryBuilder. It is located here:
J:\Program Files (x86)\FastReports\FastReport.Net\Extras\Misc\ActiveQueryBuilder\ActiveQBForm.cs.
To do this, right-click the project name in the Solution Explorer and select Add -> Existing Item….
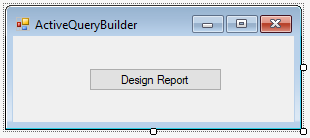
Since we have the demonstration application, the form will contain only one button:
And now create the event handler for the button click with a double click on it:
1 2 3 4 5 6 7 8 9 10 11 12 13 14 15 16 17 18 19 20 21 |
using FastReport.Forms; using FastReport.Design; using FastReport; … private void button1_Click(object sender, EventArgs e) { Report report = new Report(); FastReport.Utils.Config.DesignerSettings.CustomQueryBuilder += new FastReport.Design.CustomQueryBuilderEventHandler(DesignerSettings_CustomQueryBuilder); report.Design(); } private void DesignerSettings_CustomQueryBuilder(object sender, CustomQueryBuilderEventArgs e) { using (ActiveQBForm form = new ActiveQBForm()) { form.Connection = e.Connection; form.SQL = e.SQL; if (form.ShowDialog() == DialogResult.OK) e.SQL = form.SQL; } } |
When the button is clicked, a report object is created, then the report builder caller is override. And call the report designer.
Below, we created a custom report builder for the Report Builder. As you can see, we simply call the ActiveQBForm object previously added to the project.
Now start the application. Click the single button and see the report designer. If you want to edit an existing report, after creating the Report object, you need to load the report into it:
1 |
report.Load("С:/Program Files (x86)/FastReports/FastReport.Net/Demos/Reports/Image.frx");
|
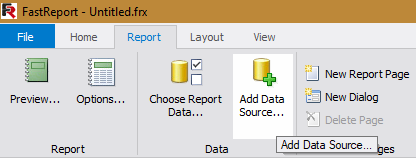
Now add the data source to the report using the icon:
We need to create a connection to the DBMS supporting SQL language, to continue to use SQL query builder. For example, we connect to the Access database.
In the next step of the wizard for creating a new data source, we are asked to select the tables we need from the database.
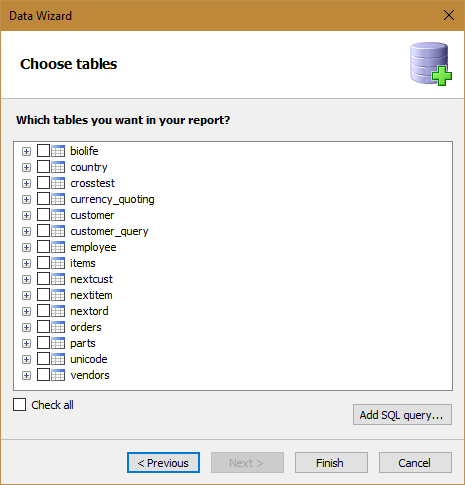
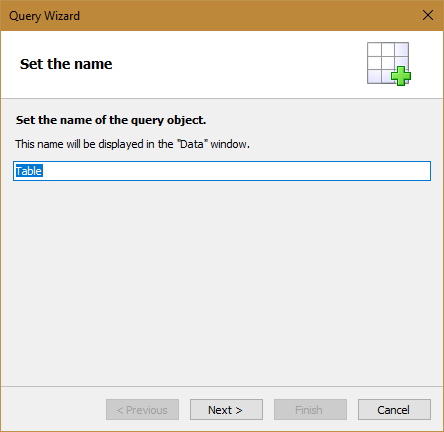
But in the right bottom corner there is a button "Add SQL query ...", which starts the query creation wizard. At the first step of creating a query, you need to specify a name for the new view, which results from the application we are creating.
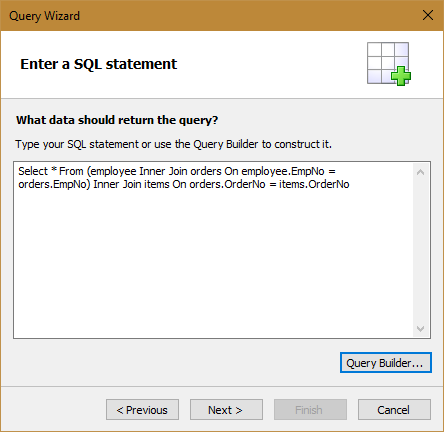
At the second step we can manually enter the text of a SQL query.
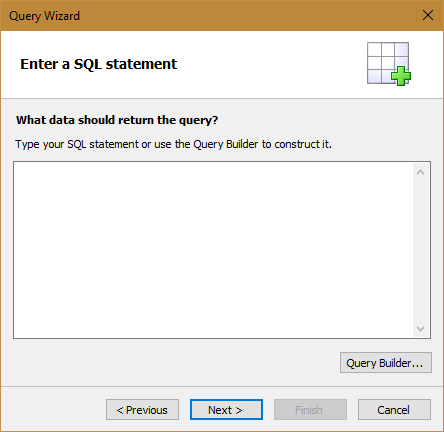
However, in the lower right corner we see the "Query Builder ..." button that will launch the Report Builder. Push it:
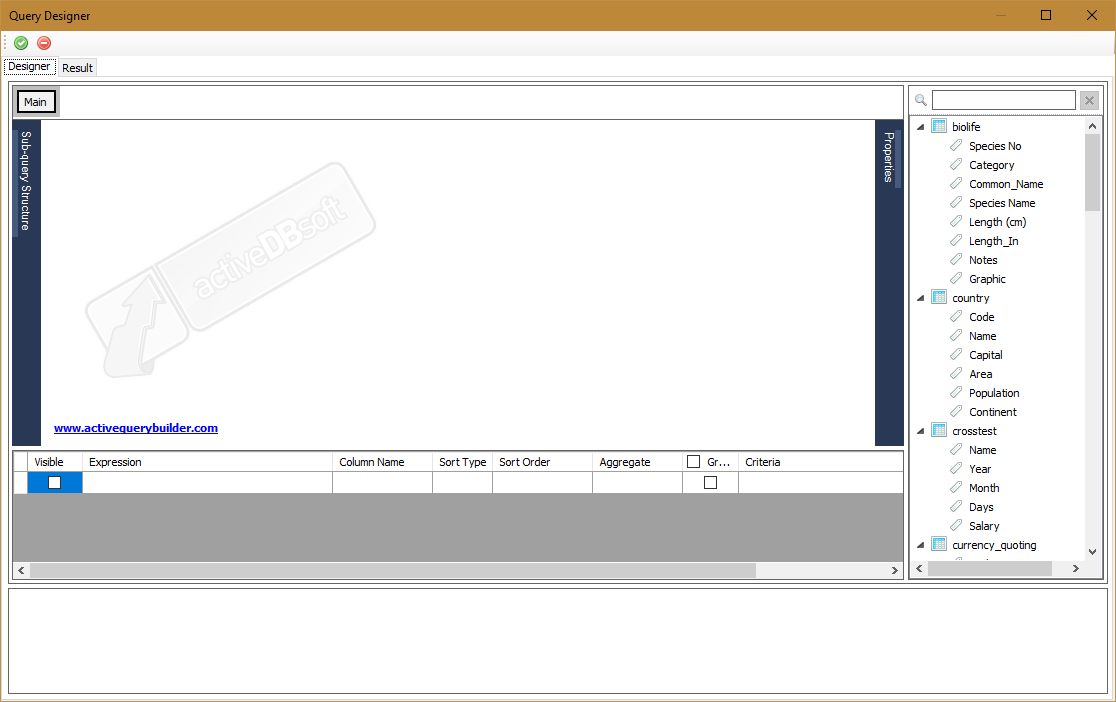
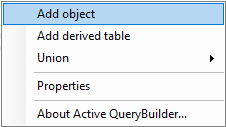
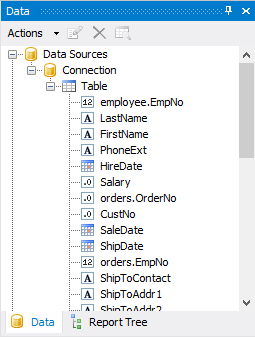
And we see the report builder we created on the basis of ActiveQueryBuilder. To add a table to the workspace, drag it from the data area on the right. Or right-click on the workspace of the builder and select "Add" from the context menu:
And holding down Ctrl, select the desired table from the database:

After that, we click the "Add Selected Objects" button and see the associated tables in the builder:
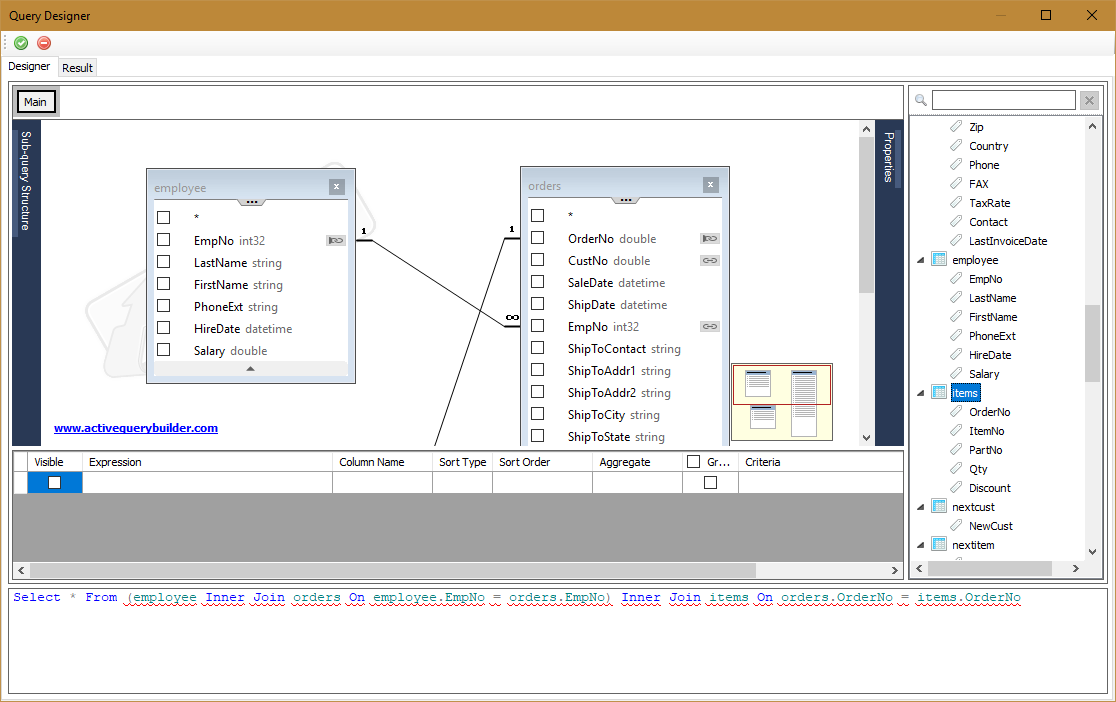
At the bottom of the window, we can see the automatically generated text of the SQL query. And on the Result tab, the result of the query. Let's say we are satisfied with the created query. To accept it, click on the green icon at the top of the window. To cancel, select the red icon.
The query wizard sends the SQL query text that we created in the builder:
Completing the creation of the query by clicking the Next button, and in the end Finish. In the same way, we complete the creation of the data source.
Now in the report designer there was a data source:
So we used a plugin to replace the standard SQL query builder.
