FastReport Viewer

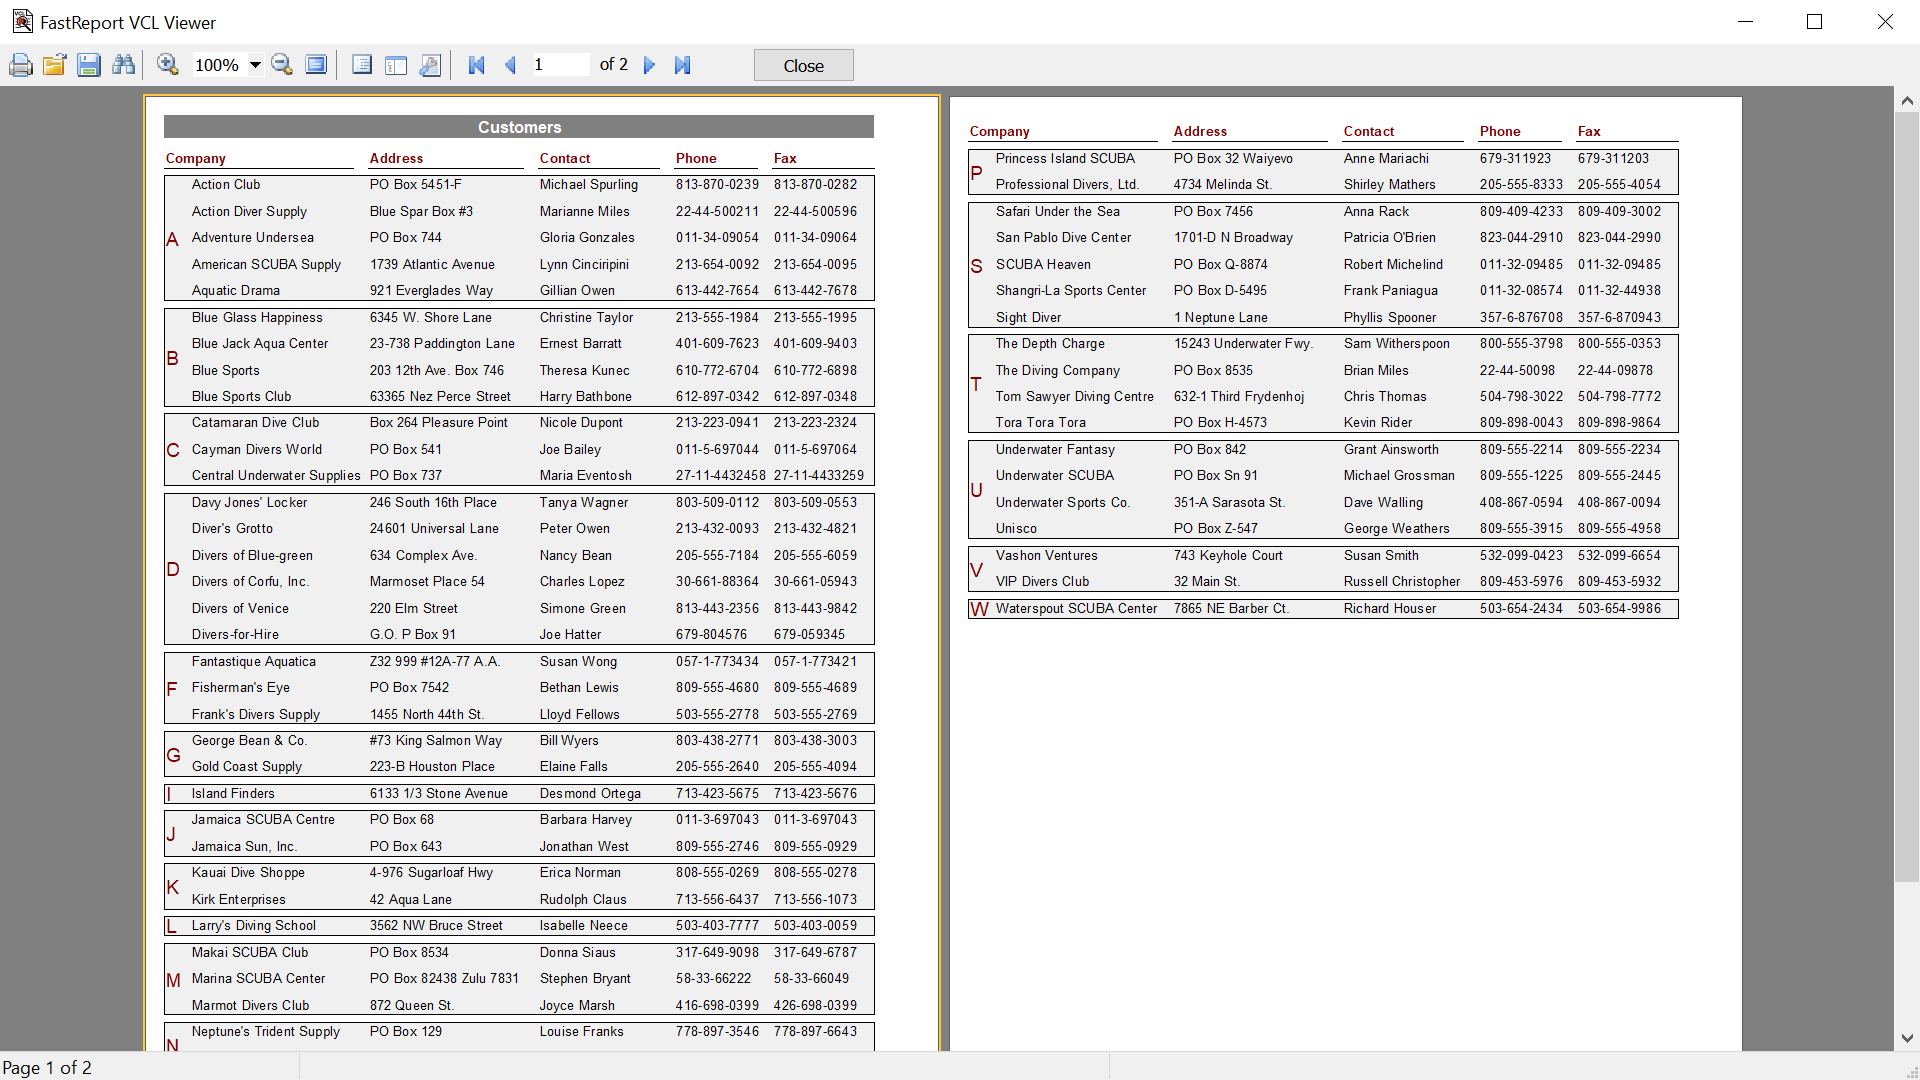
A free utility for viewing finished documents created by FastReport products in FP3 and FPX formats.

Preview and print

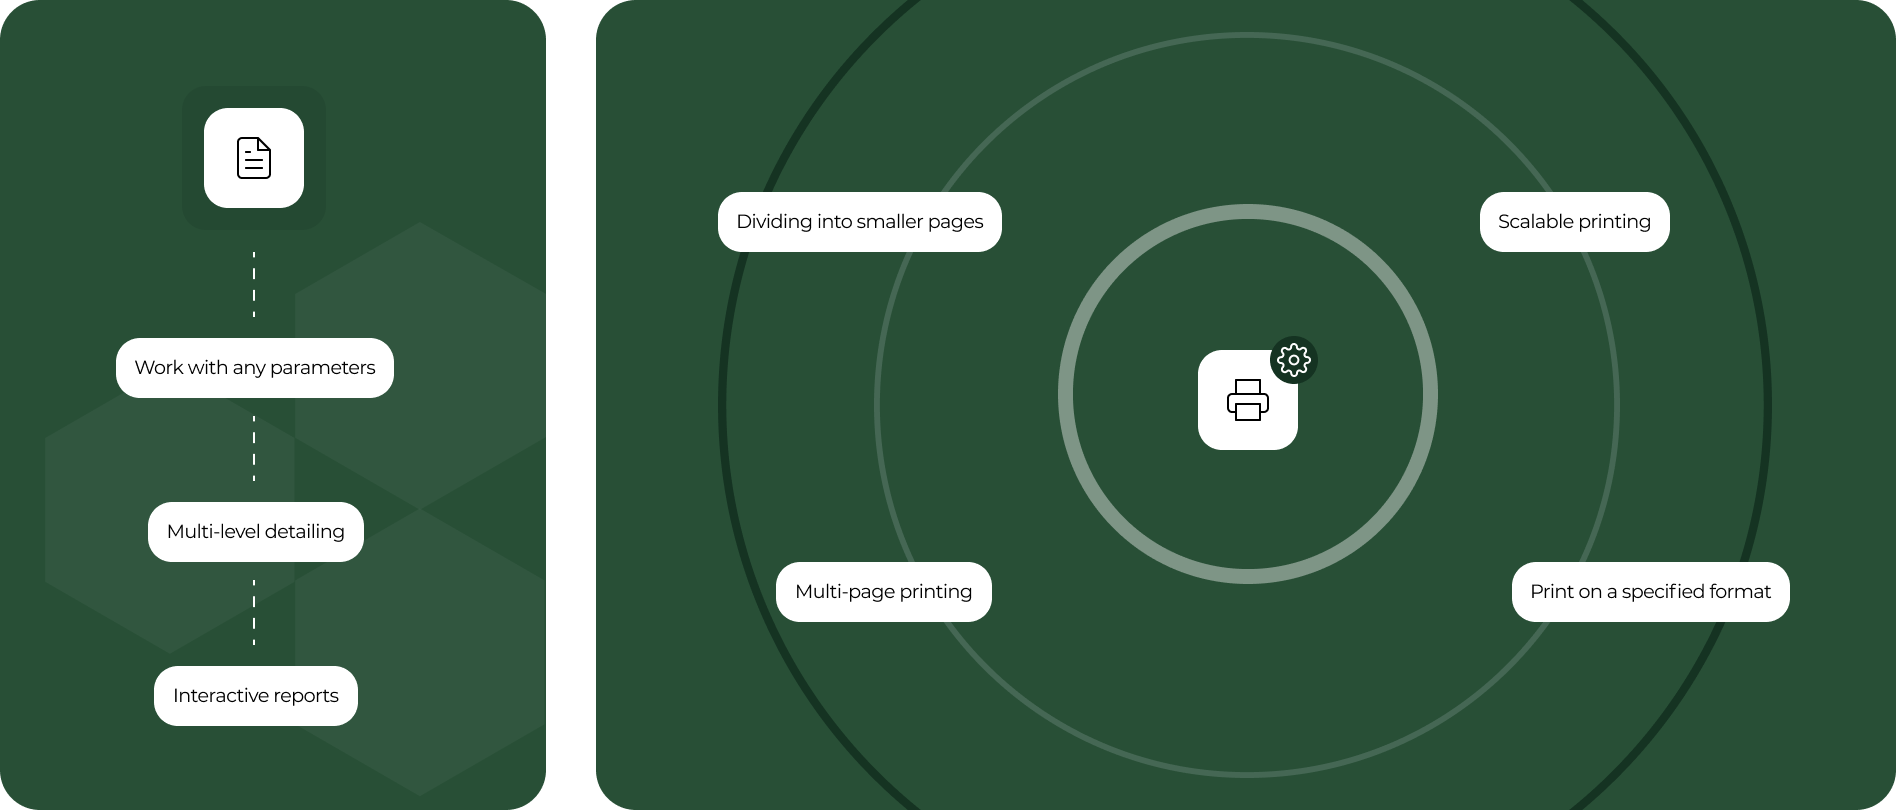
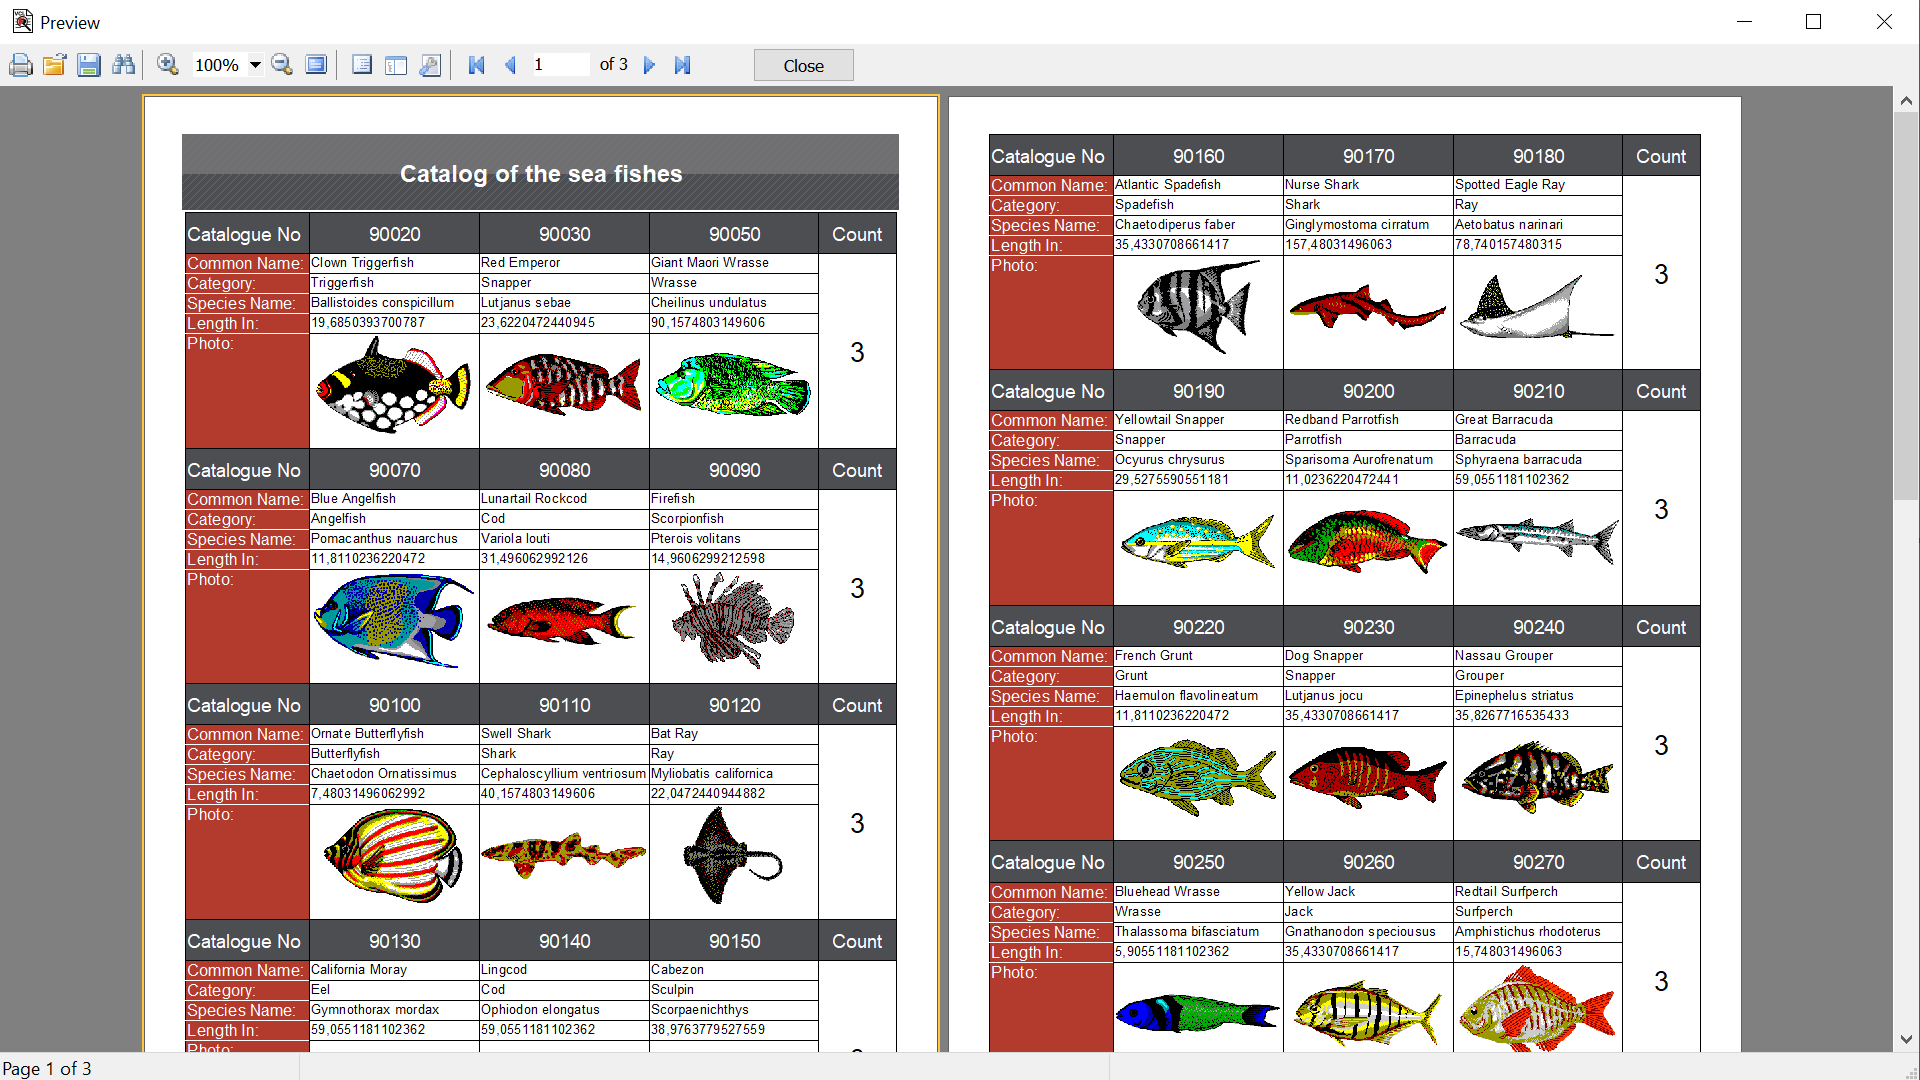
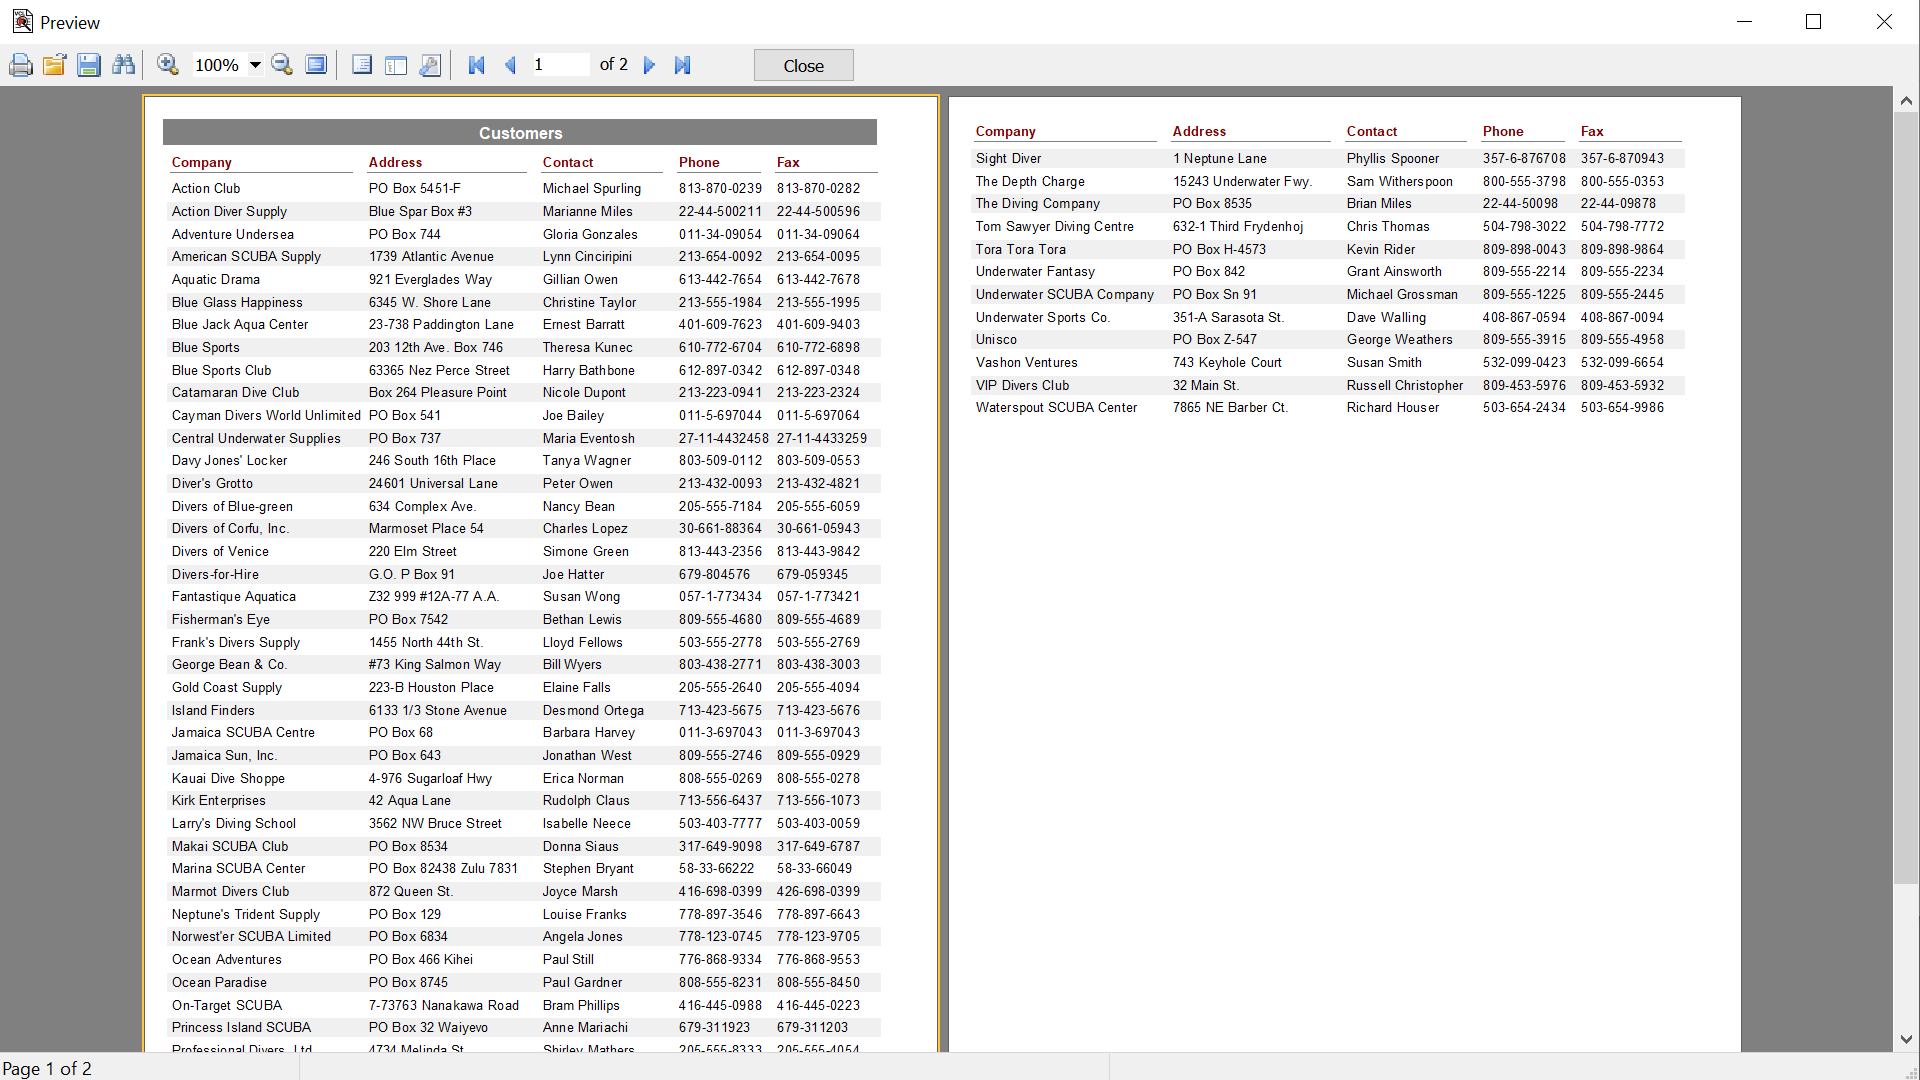
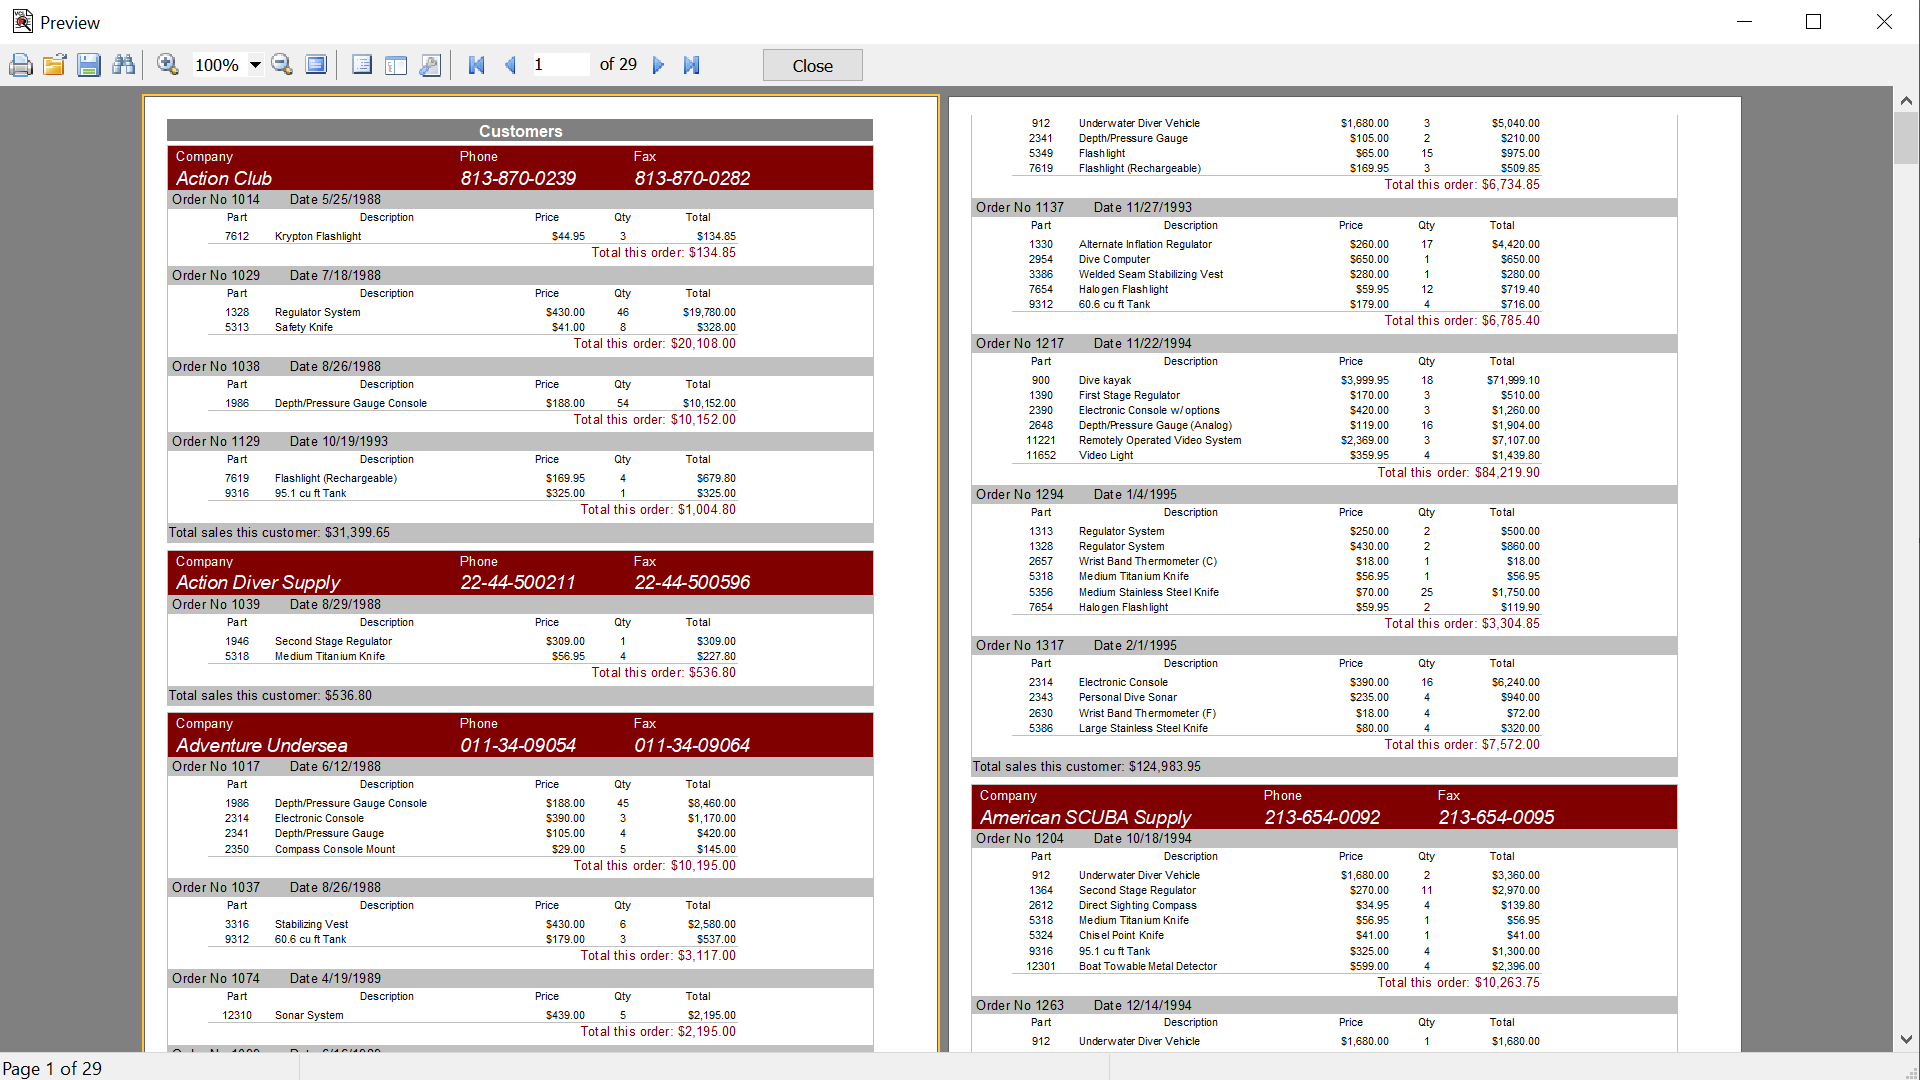
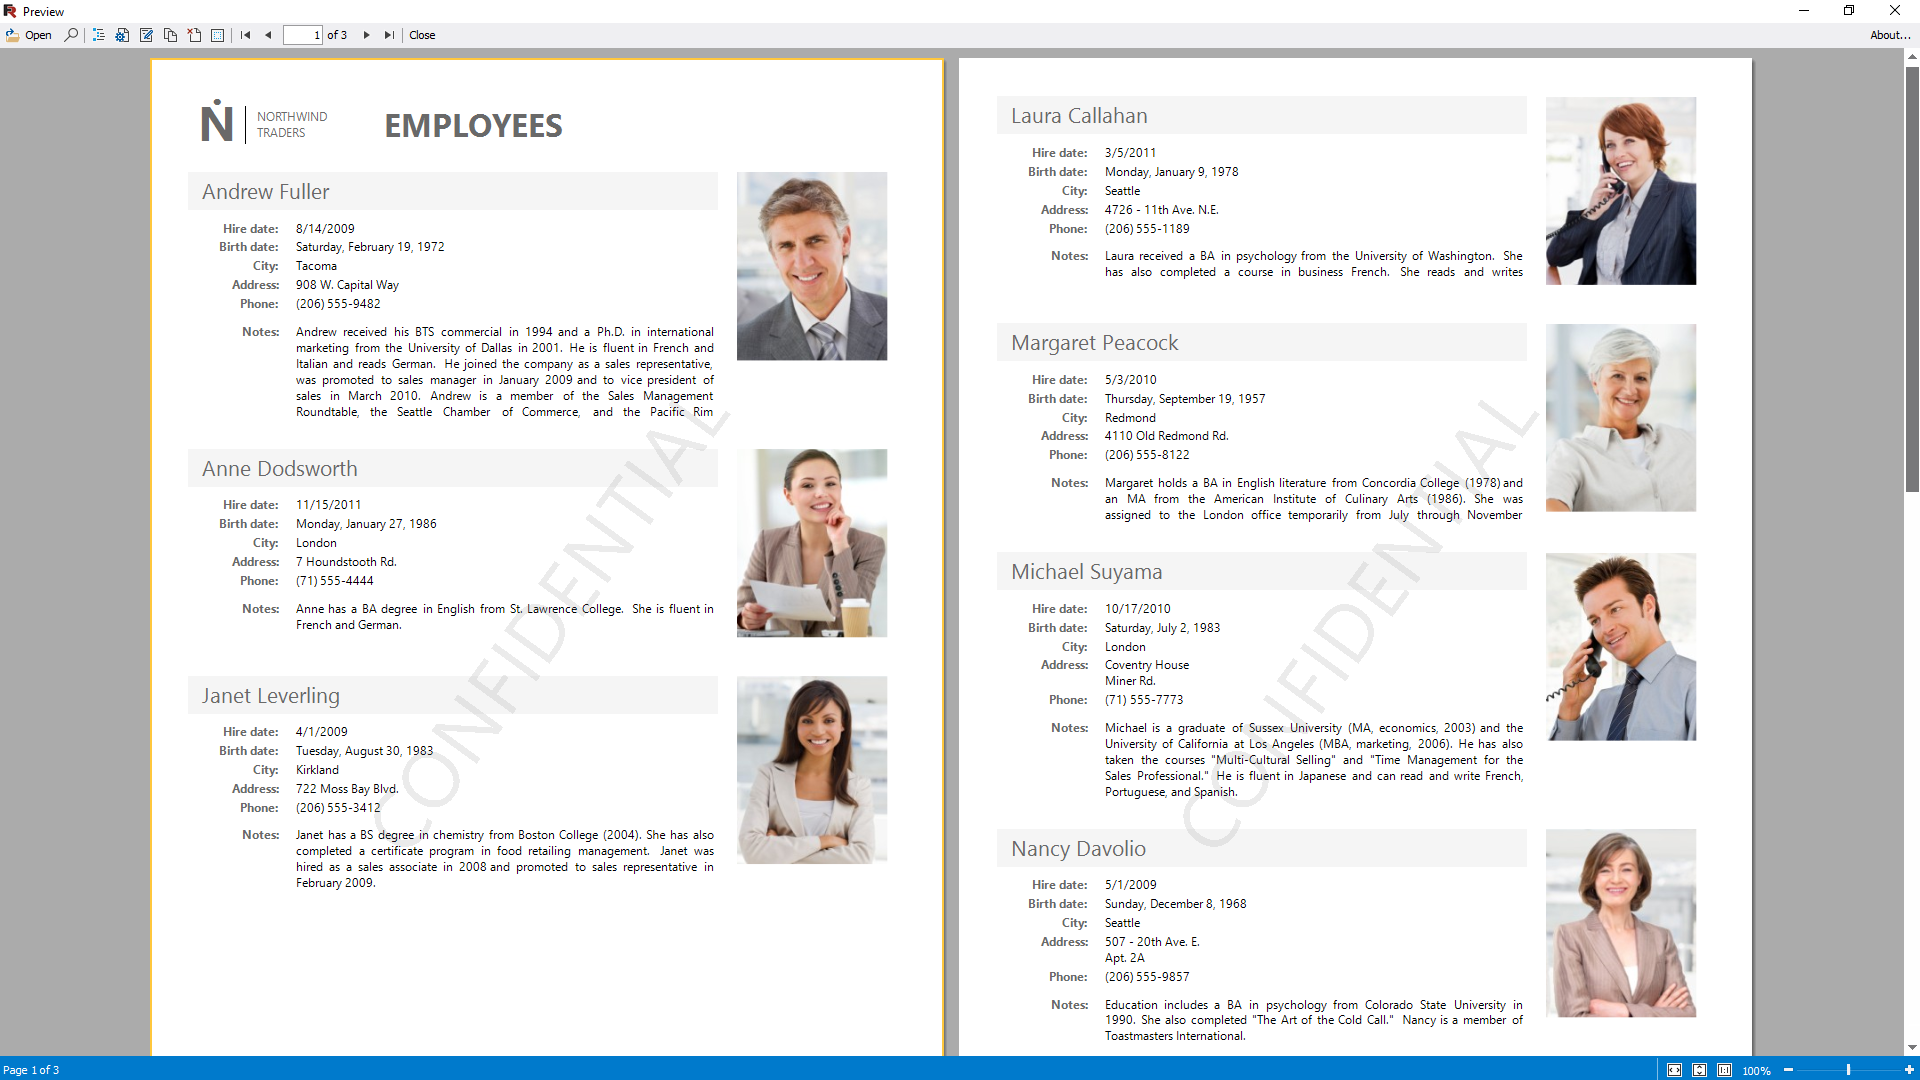
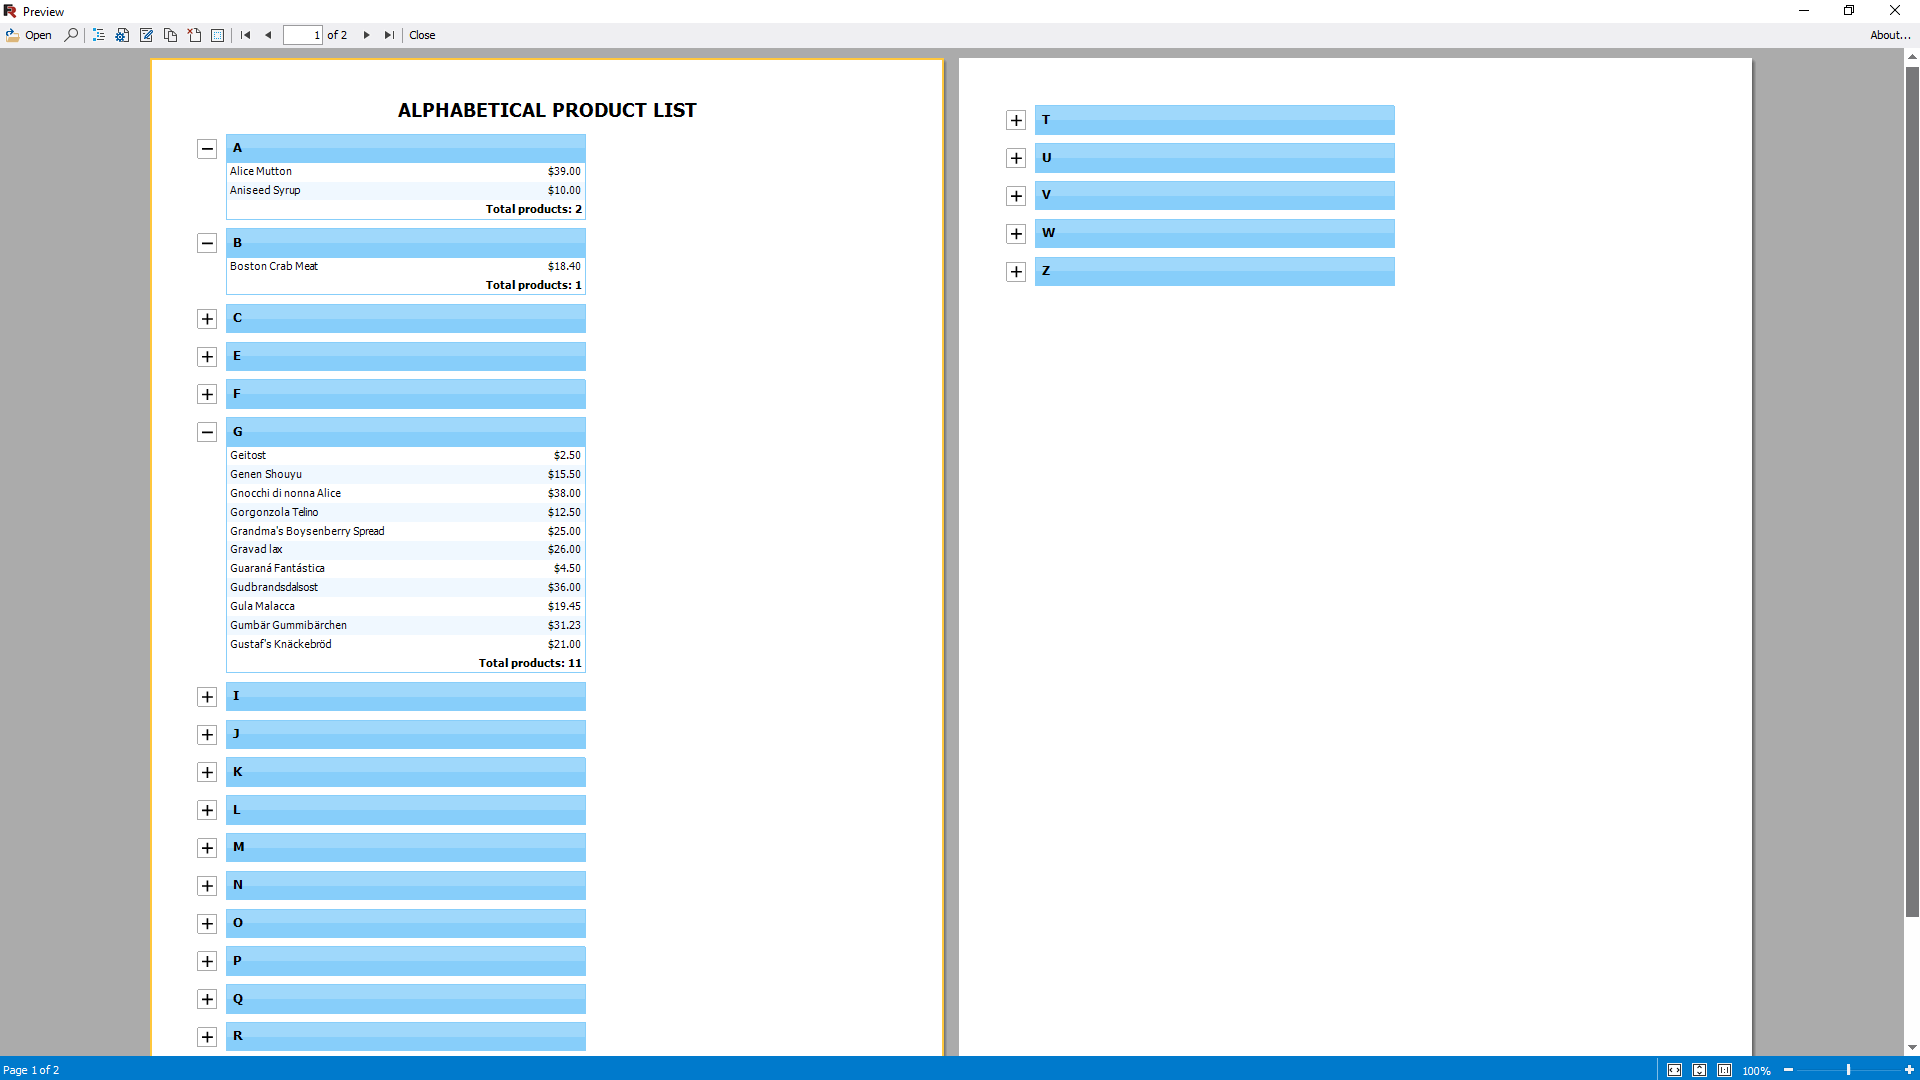
The pre-prepared report can be examined in detail in the Report Viewer's preview window. Our component supports working with parameters, multi-level detailing, and interactive reports. You can define a response to a mouse click on an object in the preview window. For example, you can build and display another report that shows detailed information about the object the user clicked on.

Additional printing settings. The following options are available to you: cutting large report pages into small ones, printing several small pages on one large one, and printing in a given format with scaling. Do you need to print a report containing A3 pages on a regular A4 printer? Now, this is not a problem!

Preview and print

Neueste Artikel

29. Februar 2020

Anpassen des Ready Report Viewer in FastReport .NET

Das Hauptwerkzeug zum Anzeigen von Berichten von FastReport .NET ist Viewer. Dieser Viewer verfügt über ein umfangreiches Toolkit zum Speichern, Exportieren, Drucken und anderen Berichtsmanipulationen. All diese Vielfalt ist nützlich, aber nicht immer notwendig. Zum Beispiel für Benutzer, die nur einen Bericht anzeigen und drucken, ist das Exportieren und Versenden von E-Mails absolut unnötig. Außerdem brauchen viele keine große Liste verfügbarer Reportexporte. Sie sind nur verwirrt und verlieren Zeit, wenn Sie nach dem Richtigen suchen. In solchen Fällen möchten wir diesen Benutzern nur die gewünschte Funktionalität überlassen. Und es kann einfach genug gemacht werden. Diese Frage kam auch beim Benutzer des Berichtsgenerators Combit List & Label auf. Berichts-Designer FastReport.Net, wie Sie wissen, ermöglicht auch Berichte anzeigen. Dazu verwendet er den gleichen Viewer. Und Sie können die Liste der verfügbaren Exporte in den Designer-Einstellungen anpassen. Menü File->Options->User Interface:   Die Schaltfläche Exports Menu öffnet das Einstellungsfenster für die Exportanzeige:    Sie können festlegen, ob einzelne Exporte oder eine ganze Gruppe angezeigt werden sollen. Um die ursprünglichen Einstellungen schnell wiederherzustellen, gibt es die Schaltfläche Default Menu. Zum Beispiel haben wir den Export in PDF, Office und XML aus der Anzeige entfernt. Und tatsächlich werden wir beim Betrachten des Berichts sehen, dass sie nicht mehr in der Exportliste enthalten sind:   Aus dem Berichtsdesigner können wir jedoch nur die Anzeige der Exportliste anpassen. Wie ist es mit anderen Steuerelementen? Um dies zu tun, müssen Sie Programmierkenntnisse nutzen. Wenn Sie eine Anwendung erstellen, in der die Berichtsanzeige gestartet wird, können Sie die Einstellungen für das Viewer-Menü festlegen. Zum Beispiel ein solcher Code: 1 2 3 4 5 Report report = new Report(); report.Load("App_Data/Master-Detail.frx"); report.Prepare(); FastReport.Utils.Config.PreviewSettings.Buttons = PreviewButtons.Print | PreviewButtons.Design; report.ShowPrepared(); Hier passen wir die Anzeige der Schaltflächen an. Nämlich - wir listen explizit die Schaltflächen auf, die angezeigt werden: Print und Design. Als Ergebnis erhalten wir: Ein tolles Ergebnis - nichts Überflüssiges. Neben den Schaltflächen wird auch die Seitennummer im Eingabefeld angezeigt. Sie können es nicht entfernen, sonst können Sie ohne die Schaltflächen für Seitennavigation nicht zu anderen Seiten gehen. Jetzt können Sie ein wenig experimentieren. Wenn Ihre Anwendung eine Ausblenden- / Einblendenlogik von Steuerelementen in der Vorschau impliziert, ist es sicher hilfreich, alles wieder in die ursprüngliche Ansicht zu bringen: Config.PreviewSettings.Buttons = PreviewButtons.All; Sie können einen anderen Weg gehen und die anzuzeigenden Schaltflächen nicht aufzählen, sondern die auszuschließenden Schaltflächen auflisten: Config.PreviewSettings.Buttons ^= PreviewButtons.Email; In diesem Fall wird die Schaltfläche zum Senden einer E-Mail verloren gehen und alle anderen werden verfügbar sein. Natürlich können Sie die Liste der verfügbaren Exporte ähnlich wie die obigen Beispiele bearbeiten. Dort können Sie auch die Exportliste anpassen: Config.PreviewSettings.Exports Und Exporte in die Cloud über Config.PreviewSettings.Clouds
Weiterlesen
8. März 2019

How to work in Designer and Viewer via command line

In addition to the libraries themselves, FastReport.Net also includes separate programs - Designer and Viewer. The first one, as you understand, is intended for creating and editing report templates. It has a report preview mode from which you can view the report, export it to the desired data format and send it to print. The Viewer is designed to view reports in fpx preview format. The report file in this format contains, besides the report template, also directly the data that will fill this report. That is, the * .fpx file is essentially a ready-to-view report. In terms of functionality, the Viewer is almost identical to the report preview mode in Designer. Actually, Designer compiles the report for viewing in fpx. Both of these programs have a graphical user interface. However, few people know that they can be run from the command line with parameters. Let's take a look at the way to work with Designer from the command line. - Firstly, you can start the program with the command: Designer.exe If, on the command line, the directory with installed FastReport.Net is selected, then you can limit yourself to this command. Otherwise, you need either to move to the desired directory using the CD command, or add the path to Designer.exe. - Secondly, you can open the report template in the designer using the command: Designer.exe Report.fpx Where Report.frx is the name of the report template. If it is not in the currently selected directory, then you need to specify the path to this file. By executing this command, you will see a designer with an open report template, i.e. you can immediately start editing the report. If the path to the designer or to the report template contains spaces in the directory names, then you need to quote it - “My reports / Report.frx”. - Thirdly - you can run the report immediately in preview mode: Designer.exe Report.frx /preview That is, you specify two parameters - the path to the report template and the key to start the preview mode. And now we will have look at the way to work with the Viewer program from the command line. - As in the case with the designer, you can simply launch the report viewer with the command: Viewer.exe Here you just need to specify the path to the executable file of the application. - Add parameter - path to the report file in * .fpx format: Viewer.exe Report.fpx Where Report.fpx is the file path. This command will launch the program with the loaded report. - And last, a new feature - the possibility of simple printing Viewer.exe Report.fpx /P That is, we specify the report file and key - start printing. At the same time, we will not be able to see the report viewer itself, but only the print form:   It remains to set the print settings and run it only. If you run Viewer.exe / P, the print dialog with the settings will open. After clicking on "Print", a window with a command line will be displayed, which can be used later for "silent" printing on a particular printer. It can be copied with Ctrl + C and used later.
Weiterlesen
6. April 2016

FastReport Viewer installieren

Herunterladen Sie die Installations Datei auf der Entwicklers Seite - www.fastreport.com. . 1)      Starten Sie die Installations Datei. Das erste Fenster - Begrüßung. Klicken Sie die «Next»-Taste. 2)      Das  zweite Fenster zeigt die Informationen über die Lizenzvereinbarung. Bitte lesen Sie den Text. Wenn Sie mit allen Punkten zustimmen aktivieren Sie den Checkbox «I accept the terms of the license agreement». Wenn Sie das nicht machen, können Sie nicht das Installationsprozess vorsetzen. Klicken Sie “Next”. 3)      Im dritten Fenster sehen Sie den Ordner, in den das Program herunterladen wird. Weiter klicken Sie “Next”.   4)      Im vierten Fenster können Sie den Namen für den Ordner, in den das Programm herunterladen wird, einstellen. Sie können auch wählen, für laufenden oder für alle Benuzter das Programm freizugeben. Klicken Sie “Next”. 5)      In the fifth window, we are launching the installation program. Im fünften Fenster starten wir das Prozess der Installation. 6)      It will then be shown the installation process. Weiter wird der Status der Installation angezeigt. 7)      Im sebenten Fenster wird das Installation beendet. Sie können sofort das Program starten, wenn die Installation am Ende wird. Wenn Sie keine Lust dazu haben, deaktivieren Sie den Checkbox «Run FastReports Viewers». Klicken Sie die Taste “Finish”.
Weiterlesen

Kostenlos testen

Any other questions?

Contact the manager
Fast Reports
  • 800-985-8986 (Englisch, USA)
  • +31 97 01025-8466 (Englisch, EU)
  • +49 30 56837-3928 (Deutsch, DE)
  • +55 19 98147-8148 (Portugiesisch, BR)
  • info@fast-report.com
  • 66 Canal Center Plaza, Ste 505, Alexandria, VA 22314

© 1998-2025 Fast Reports Inc.