Interactive report with preliminary data entry into the table
As you already know, FastReport.NET reports can have dialog forms that are displayed before the report is built. They allow you to set some text, boolean or numeric variables. These can be text fields, tables, lists, dropdowns, dates, checkboxes, and even lists with checkboxes.
As a rule, dialog forms are used to filter data in a report or to select criteria for report behavior. But today we will talk about another possible use of the dialogue form.
Let’s look at the case where you need to enter data for the report before displaying it. This is a simple case when it comes to individual text fields, checkboxes, lists. But what if you have a table of data, which you want to manually adjust before building the report?
This is where the Grid ![]() component can be helpful. This is a table with data that we can show on the dialog form before building the report.
component can be helpful. This is a table with data that we can show on the dialog form before building the report.
Let's add a dialog form to the report and place a Grid control on it. Let's call the context menu for it with a right click:
Select “Edit Columns…” to add columns to the table.
Add three columns in the column edit window - Name, Address, Phone. Take a look at the Customers.Name property. Here we are referencing a Customers data source that is not yet in the report. But we will add it later, using a script. For the rest of the columns, you need to set the appropriate properties.
The report page template is extremely simple – there is one Table object with three columns. We are going to fill it in the report script.
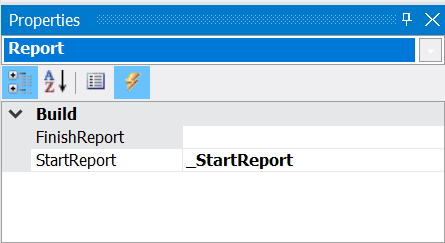
Now, let's add the StartReport event handler for the report:
Report script:
public class ReportScript
 {
 //Data structure for table
 public class Customer
 {
 public string Name {get; set; }
 public string Address {get; set; }
 public string Phone {get; set; }

 public Customer(string name, string address, string phone)
 {
 Name = name;
 Address = address;
 Phone = phone;
 }
 }

 private void _StartReport(object sender, EventArgs e)
 {
//List of customers
List<Customer> customers = new List<Customer>();
//Fill the list of customers with default data
 customers.Add(new Customer("Kevin Smith", "221 52nd st, Brooklyn, NY, United States", "+12127599755"));
 customers.Add(new Customer("Justin Ford", "1556 Broadway, suite 416, NY, United States", "+12145678900"));
 customers.Add(new Customer("Amanda Stephenson", "455 Larkspur Dr., CA, United States", "+14105175379"));
// Register the data source in a report
 Report.RegisterData(customers, "Customers");
//Set the data source in the table
 Grid1.DataSource = Report.GetDataSource("Customers");
//Set fields in cells
 Cell6.Text = "[Customers.Name]";
 Cell7.Text = "[Customers.Address]";
 Cell8.Text = "[Customers.Phone]";
 }
}
In this case, we set the Customer data structure that will be used to display the rows in the table in the dialog box and the report. Next, we create a Customers data source and populate it with Customer instances. Then we register the received data source in the report. Do you remember how we set the data field for the columns in the Grid object? We referred to this data source. Here we assign the fields from the source to the table cells (Table object) in the page template.
Now let's create a ManualBuild event handler for the Table object on the report page. This event is called after the object is built on the page and allows you to change the table that is ready to be displayed. Thus, we can change the text in the table using a script.
 private void Table1_ManualBuild(object sender, EventArgs e)
 {
 //Set the data source
 DataSourceBase rowData = Report.GetDataSource("Customers");
 //Initialize the data
 rowData.Init();
 //Display the first row of data
 Table1.PrintRow(0);
 //Display the column
 Table1.PrintColumns();
 //Loop through all rows of data in source
 while (rowData.HasMoreRows)
 {
 //Output the next line of data
 Table1.PrintRow(1);
 //Output the column
 Table1.PrintColumns();
 //take the following entry from the source
 rowData.Next();
 }
 }
Here we fill the table by simply looping through all the rows of data.
Let's run the report. The first thing we will see is a dialog box with a table:
Let's double click on the first cell to edit its text:
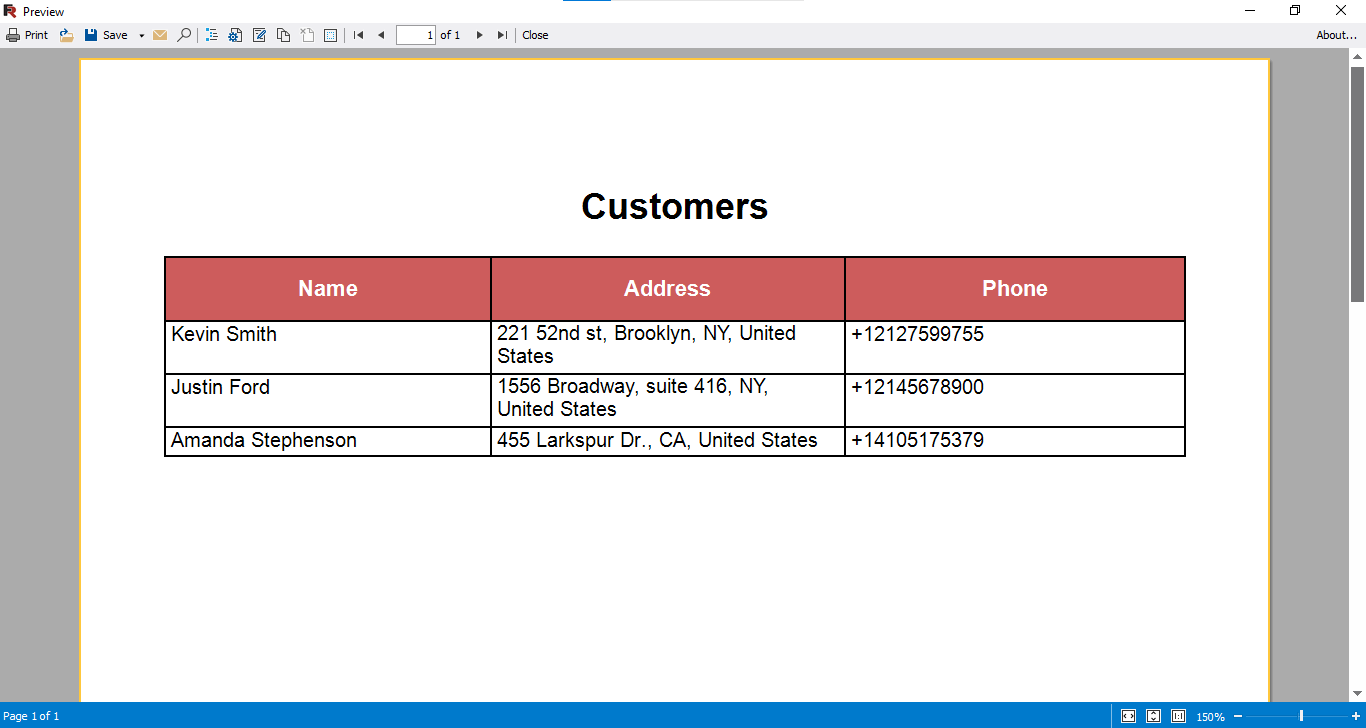
Click OK and check the result:
As you can see, our default data has changed to what we entered manually. In this way, you can give users the ability to change the data manually before building the report. This example shows how to populate a table with data from a script, but nothing stops you from populating it with data from a source.


