What reports can FastReport Desktop do?
Practically any: invoices, financial reports, product catalogs with color profile support, restaurant menus, sales details, questionnaires with electronic forms, airline tickets, utility bills, and much more. If you have data that needs to be made visually understandable, FastReport is the perfect solution for you.
Features and Benefits FastReport Desktop

How to set this up?
Step 1: Create a report template and connect it to a database in the report designer.
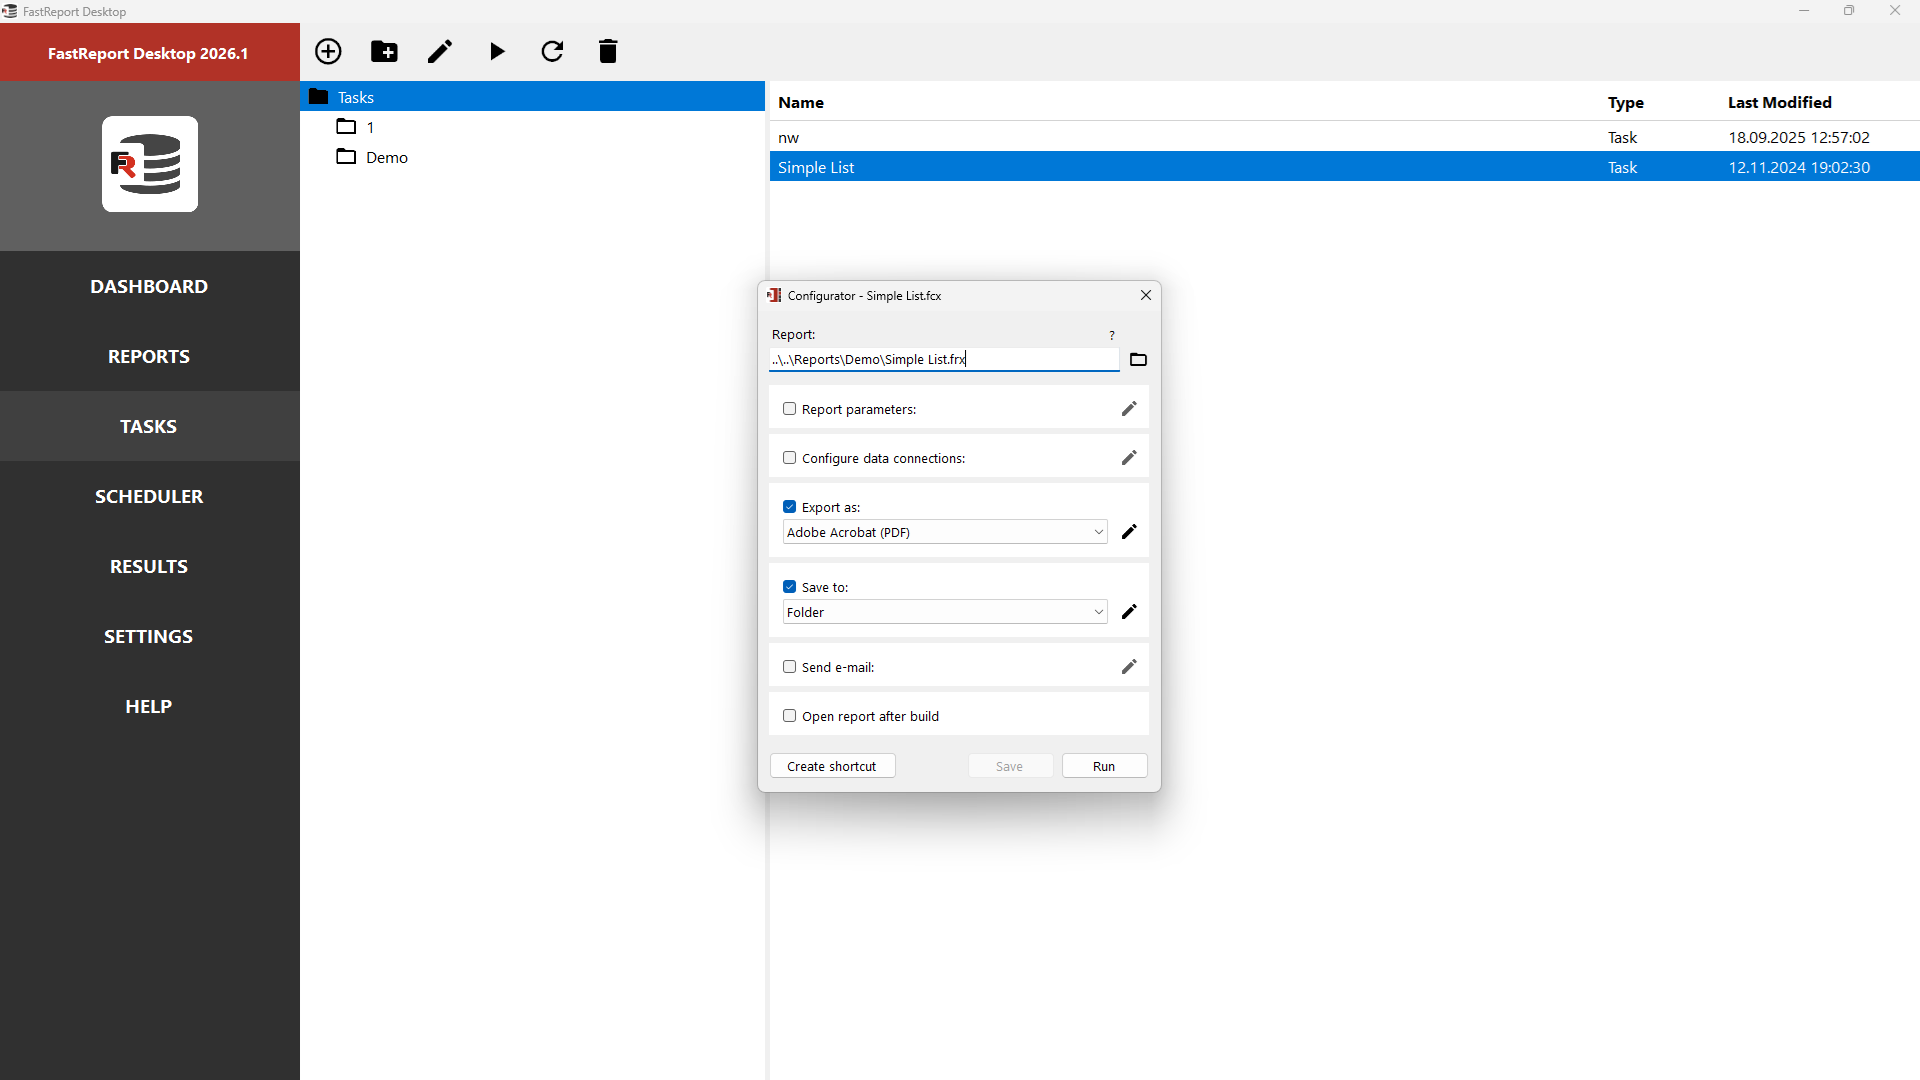
Step 2: Specify the actions you would like to perform on the report. Do you want to export to PDF? Or perhaps Excel? Send it by email or print it? Anything you'd like!
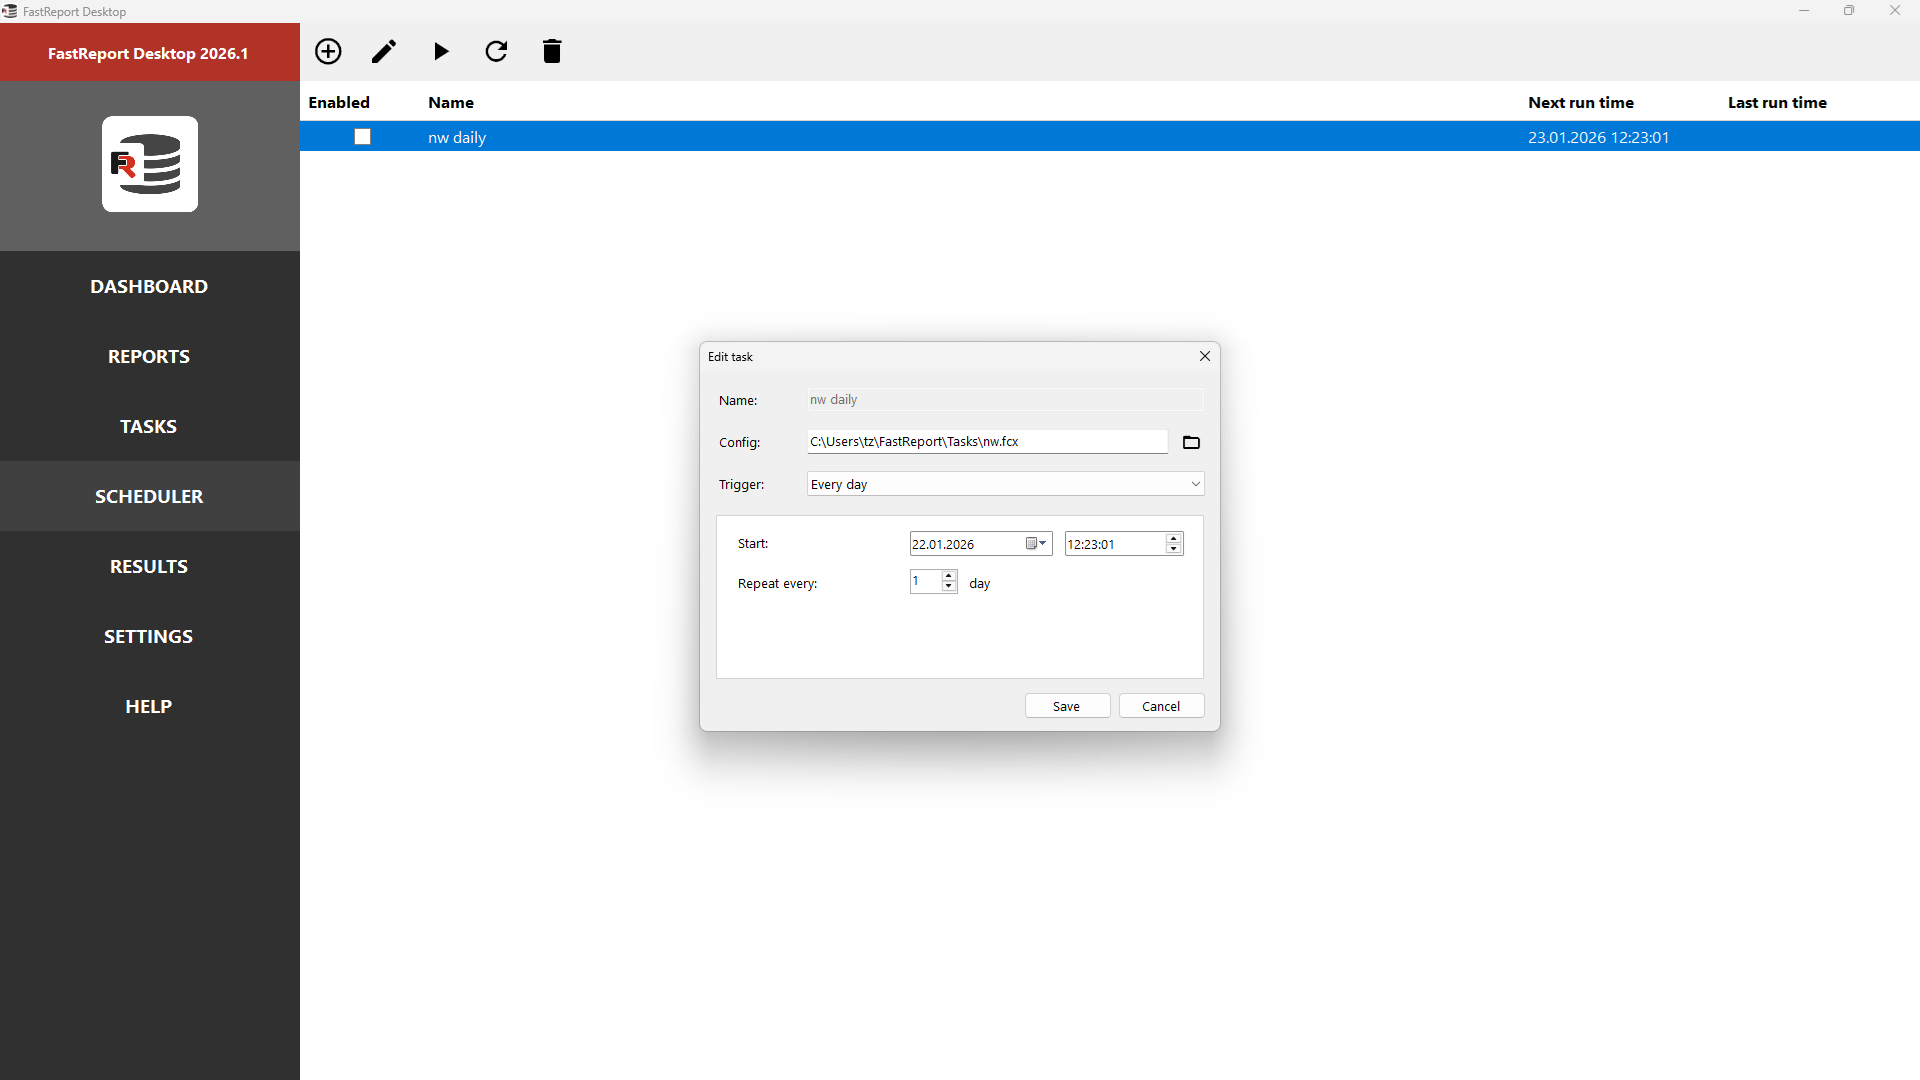
Step 3: Schedule the task. Choose the day and time when you want to see the finished report on your desk.
Step 4: Have a cup of coffee. Your work is now done.

What does the product consist of?
With the purchase of this product, you will receive:
- Visual designer for creating and editing reports.
- Builder in the form of a console utility for building and processing reports.
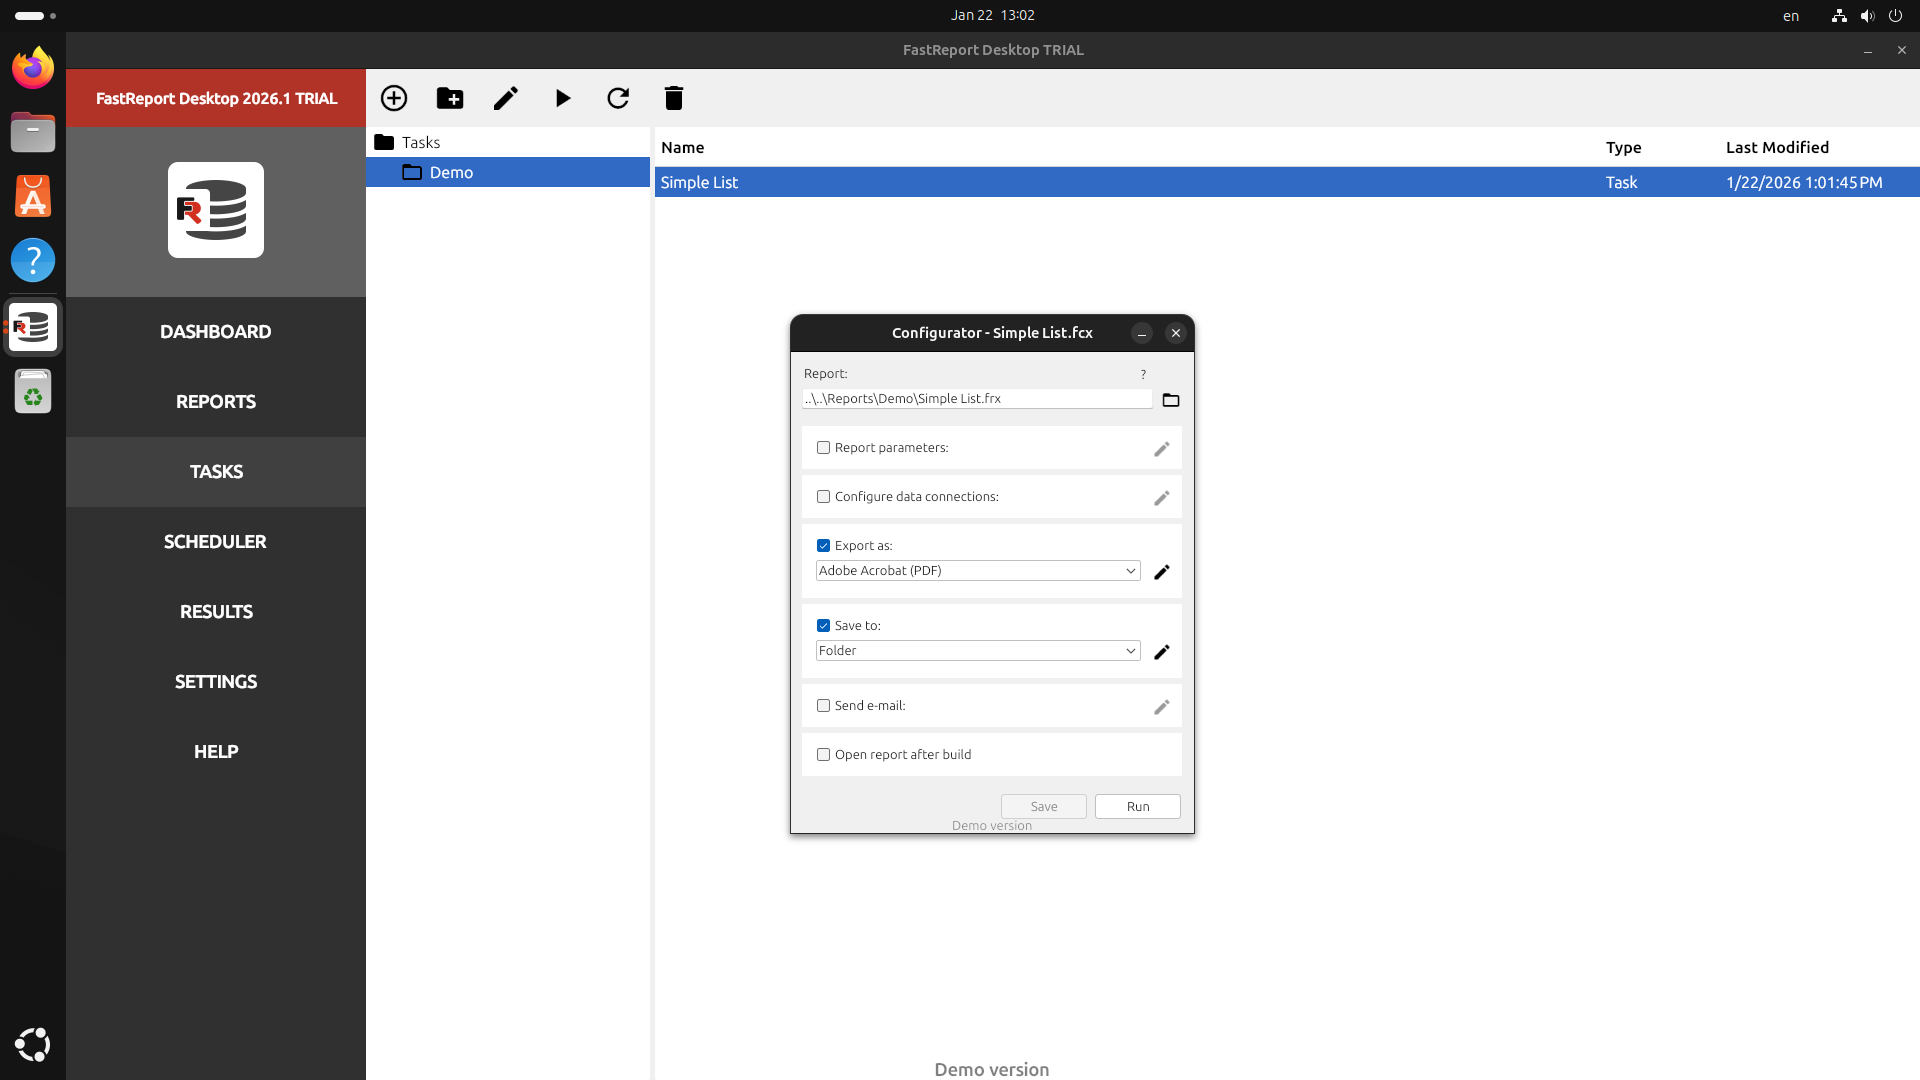
- GUI configurator for creating builder tasks.
- A convenient scheduler for completing tasks on a schedule.
- Viewer for displaying and printing ready-made reports.
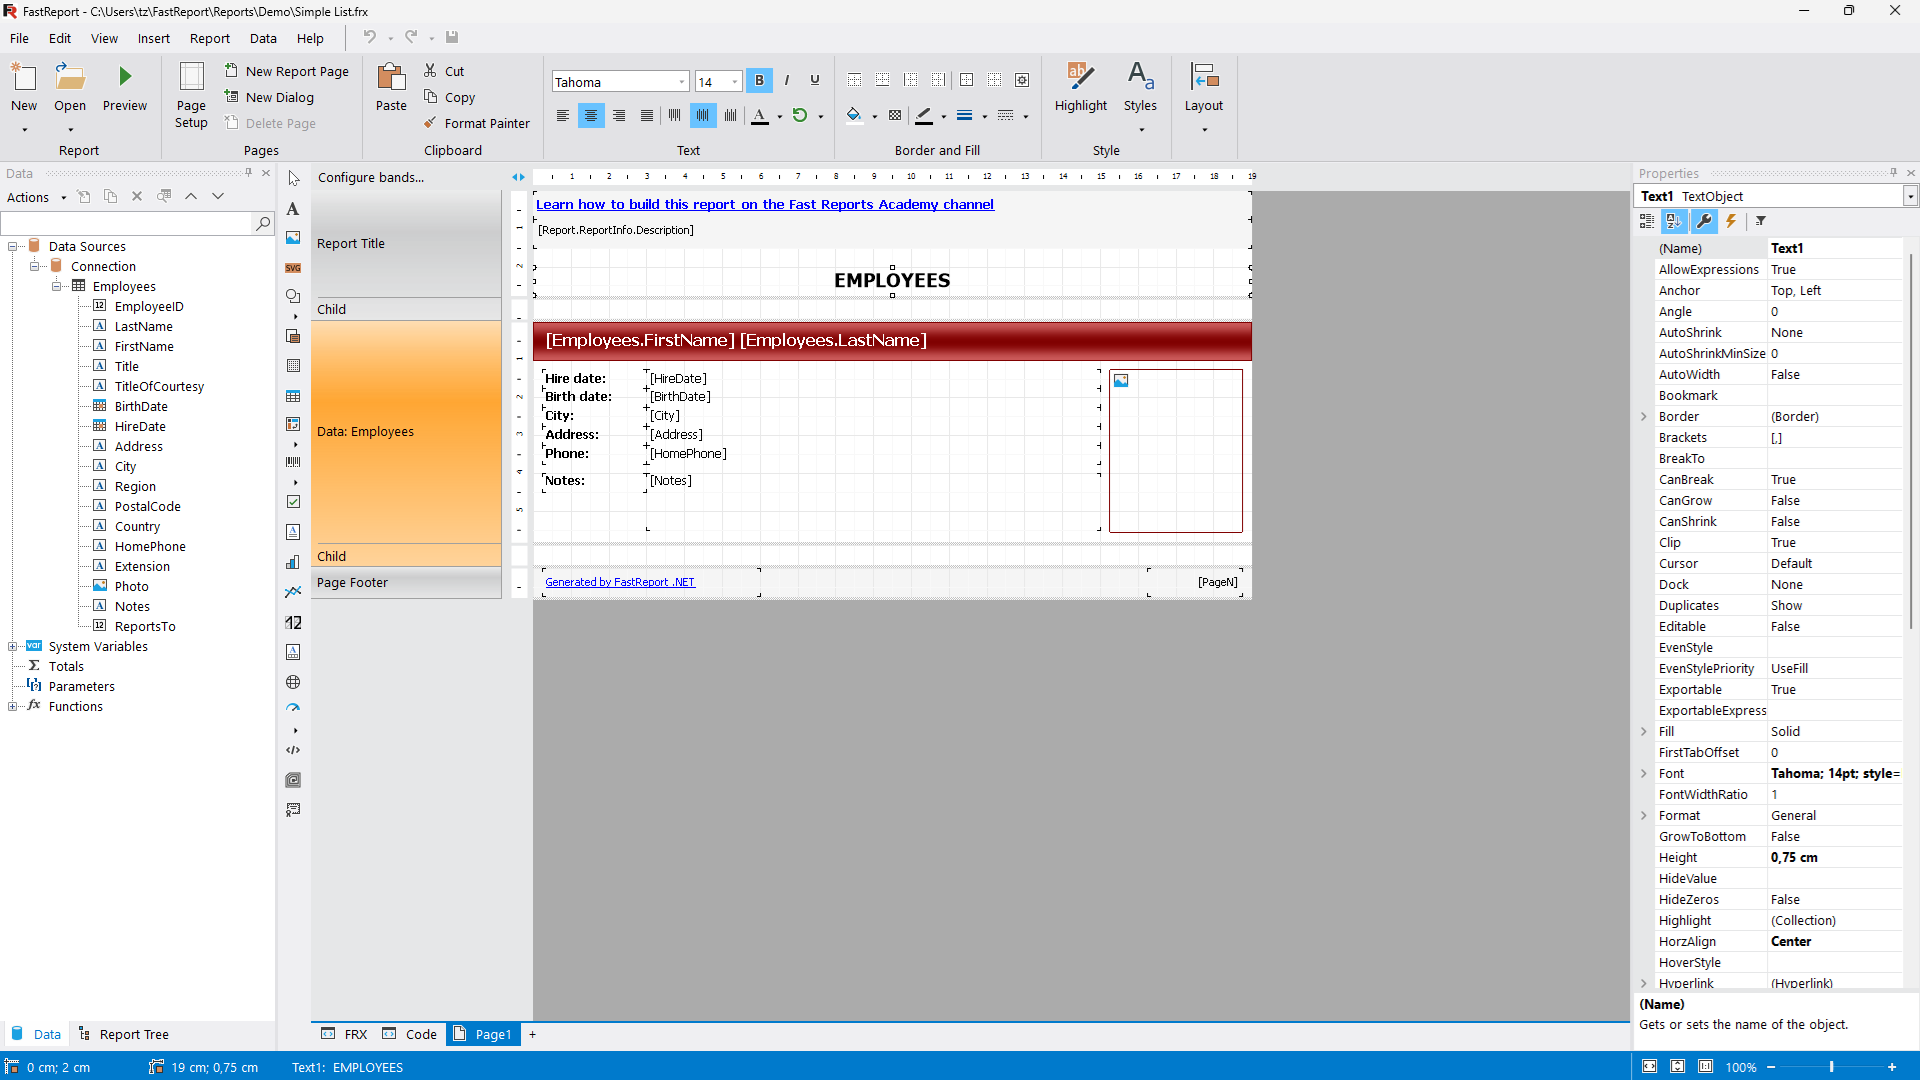
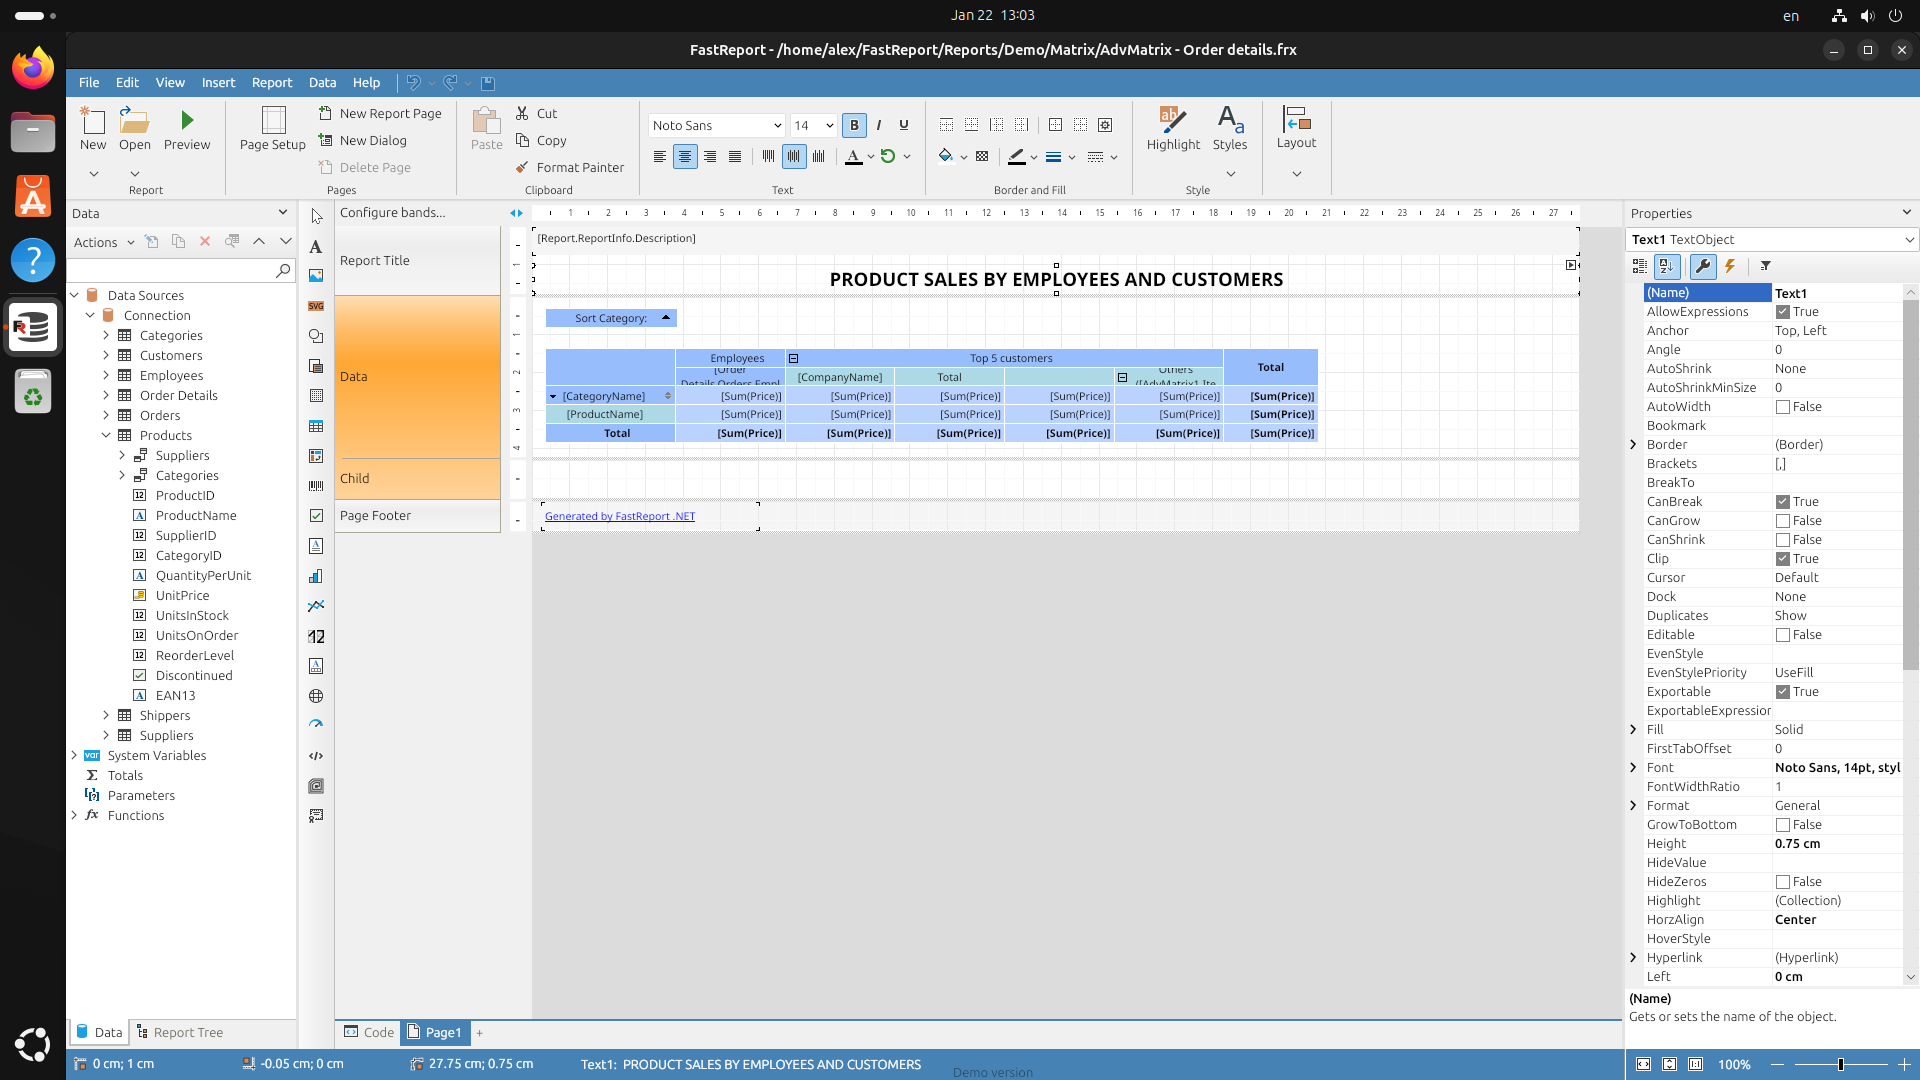
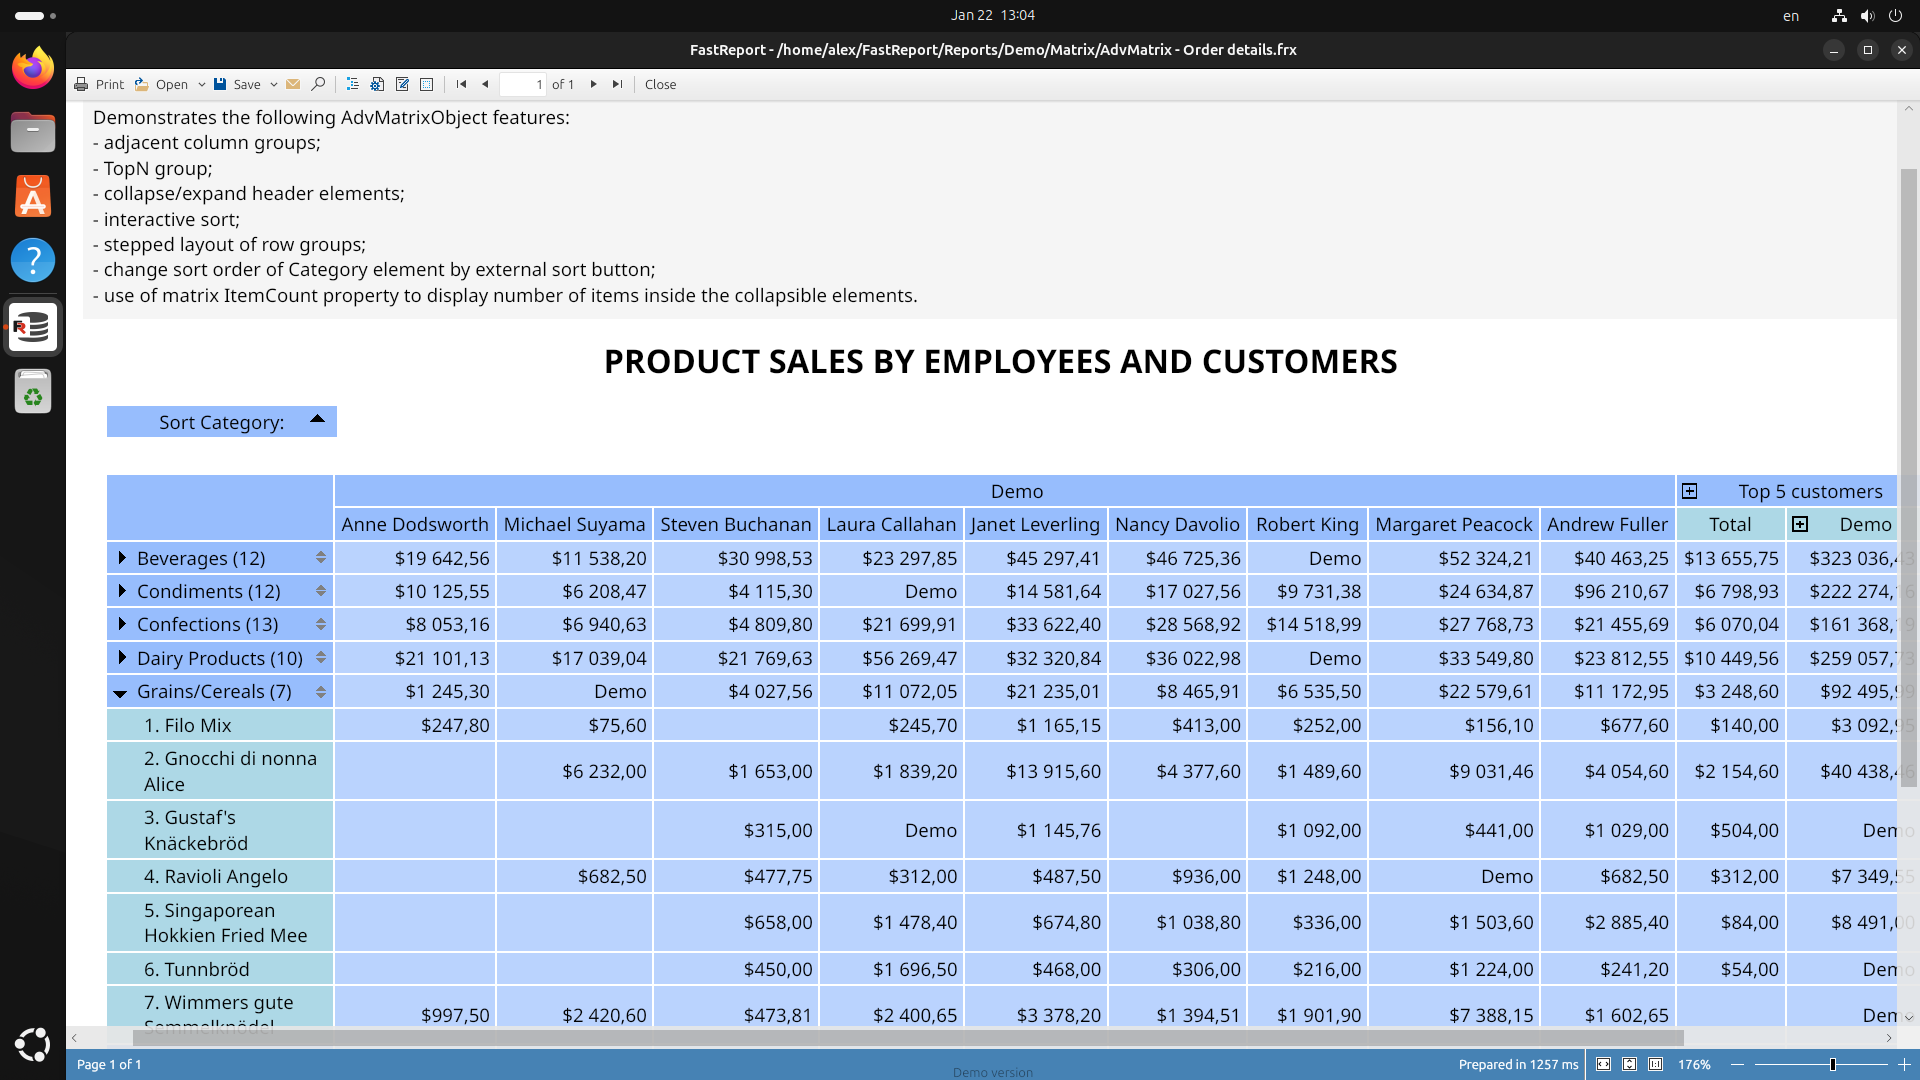
What can the designer do?
Report Designer allows developers and users to create, design, edit, view, save, export, and print custom reports without much hassle.
FastReport Desktop works stand-alone without integration into Visual Studio, and it also supports scaling, undo/redo buffers, extension lines, and rulers. The designer can be used at run-time. This will allow your users to independently edit existing documents and create new ones. The designer can also be used in MDI (Multi-Document Interface) mode to work with several reports simultaneously.
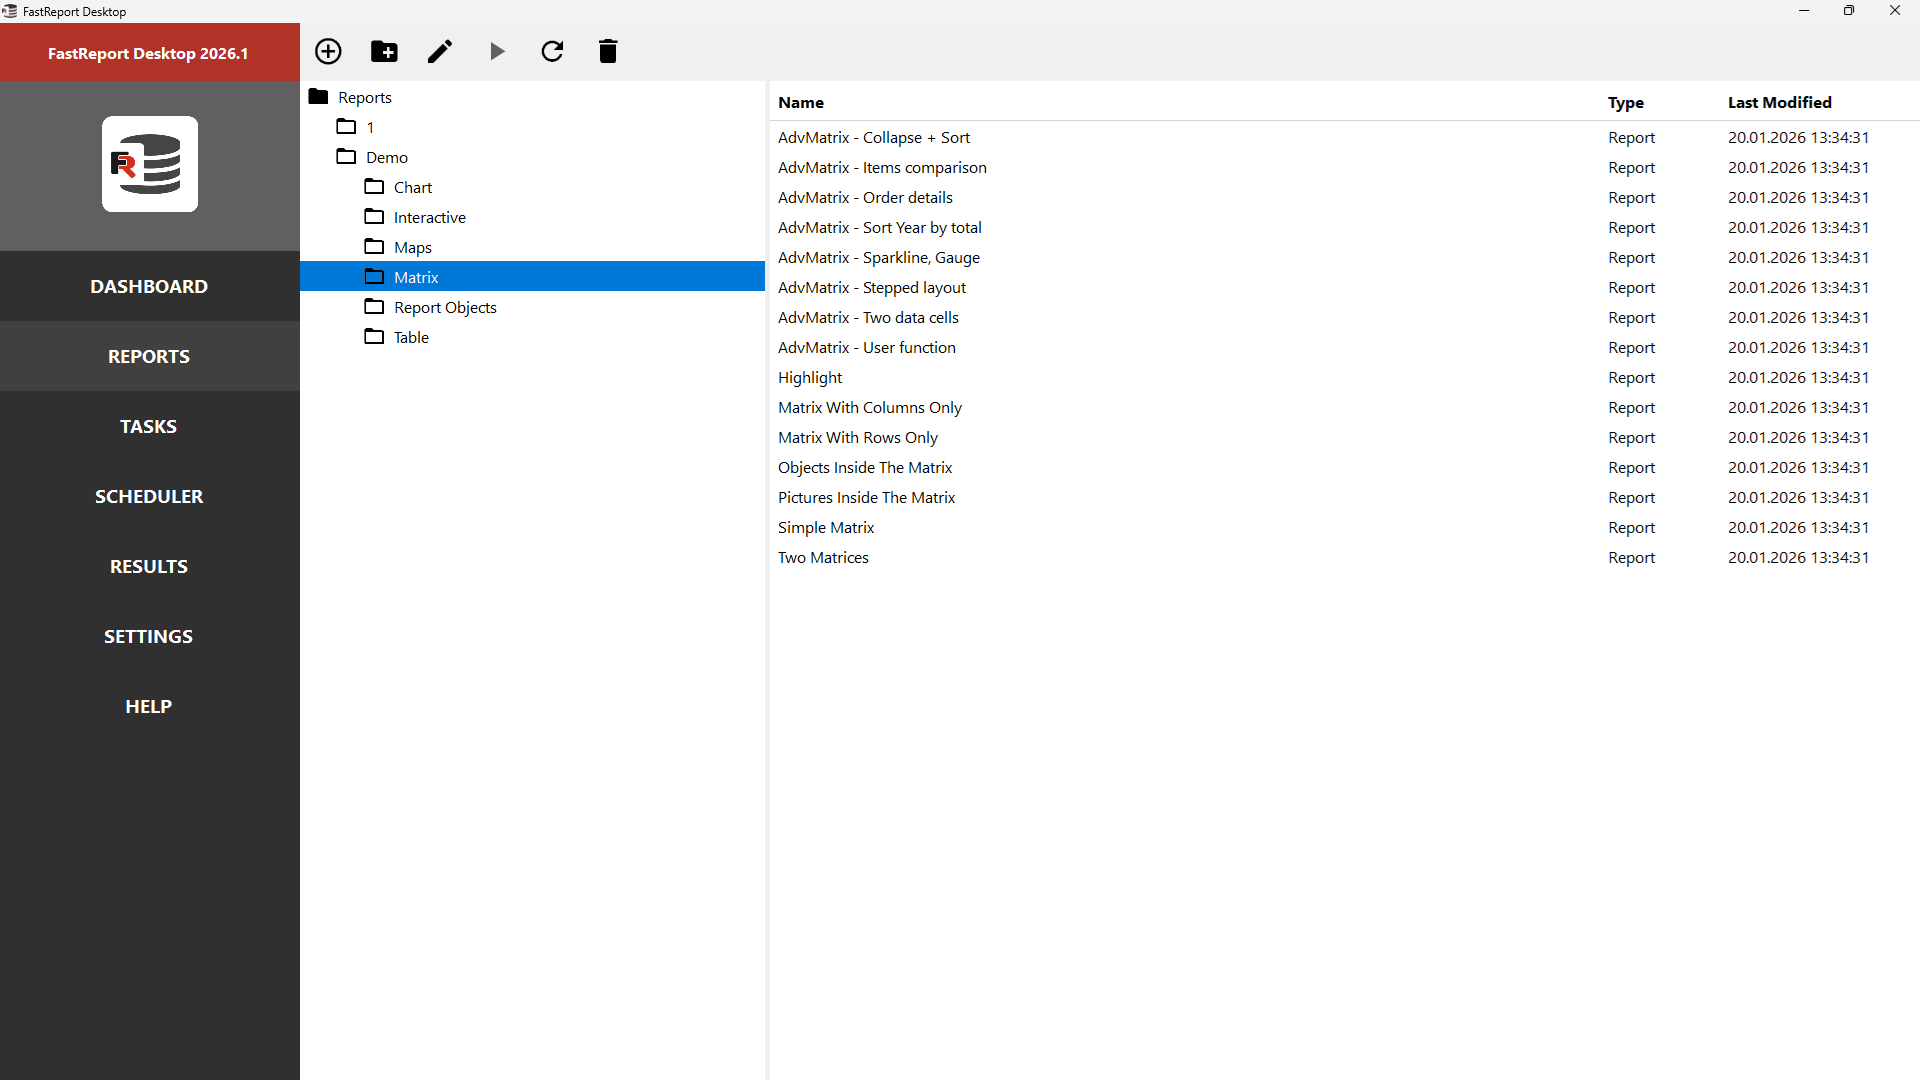
Available objects: Text, Picture, Shape, Line, Subreports, Table, Matrix, Barcode, Graphs, Maps, RichText, Checkbox, Postal code, Text in cells, Exports in 40+ formats, Dialog forms, Data sources, Runtime Report Designer, Report script, Saving templates in clouds.
Localization is supported for more than 40 popular languages of the world.

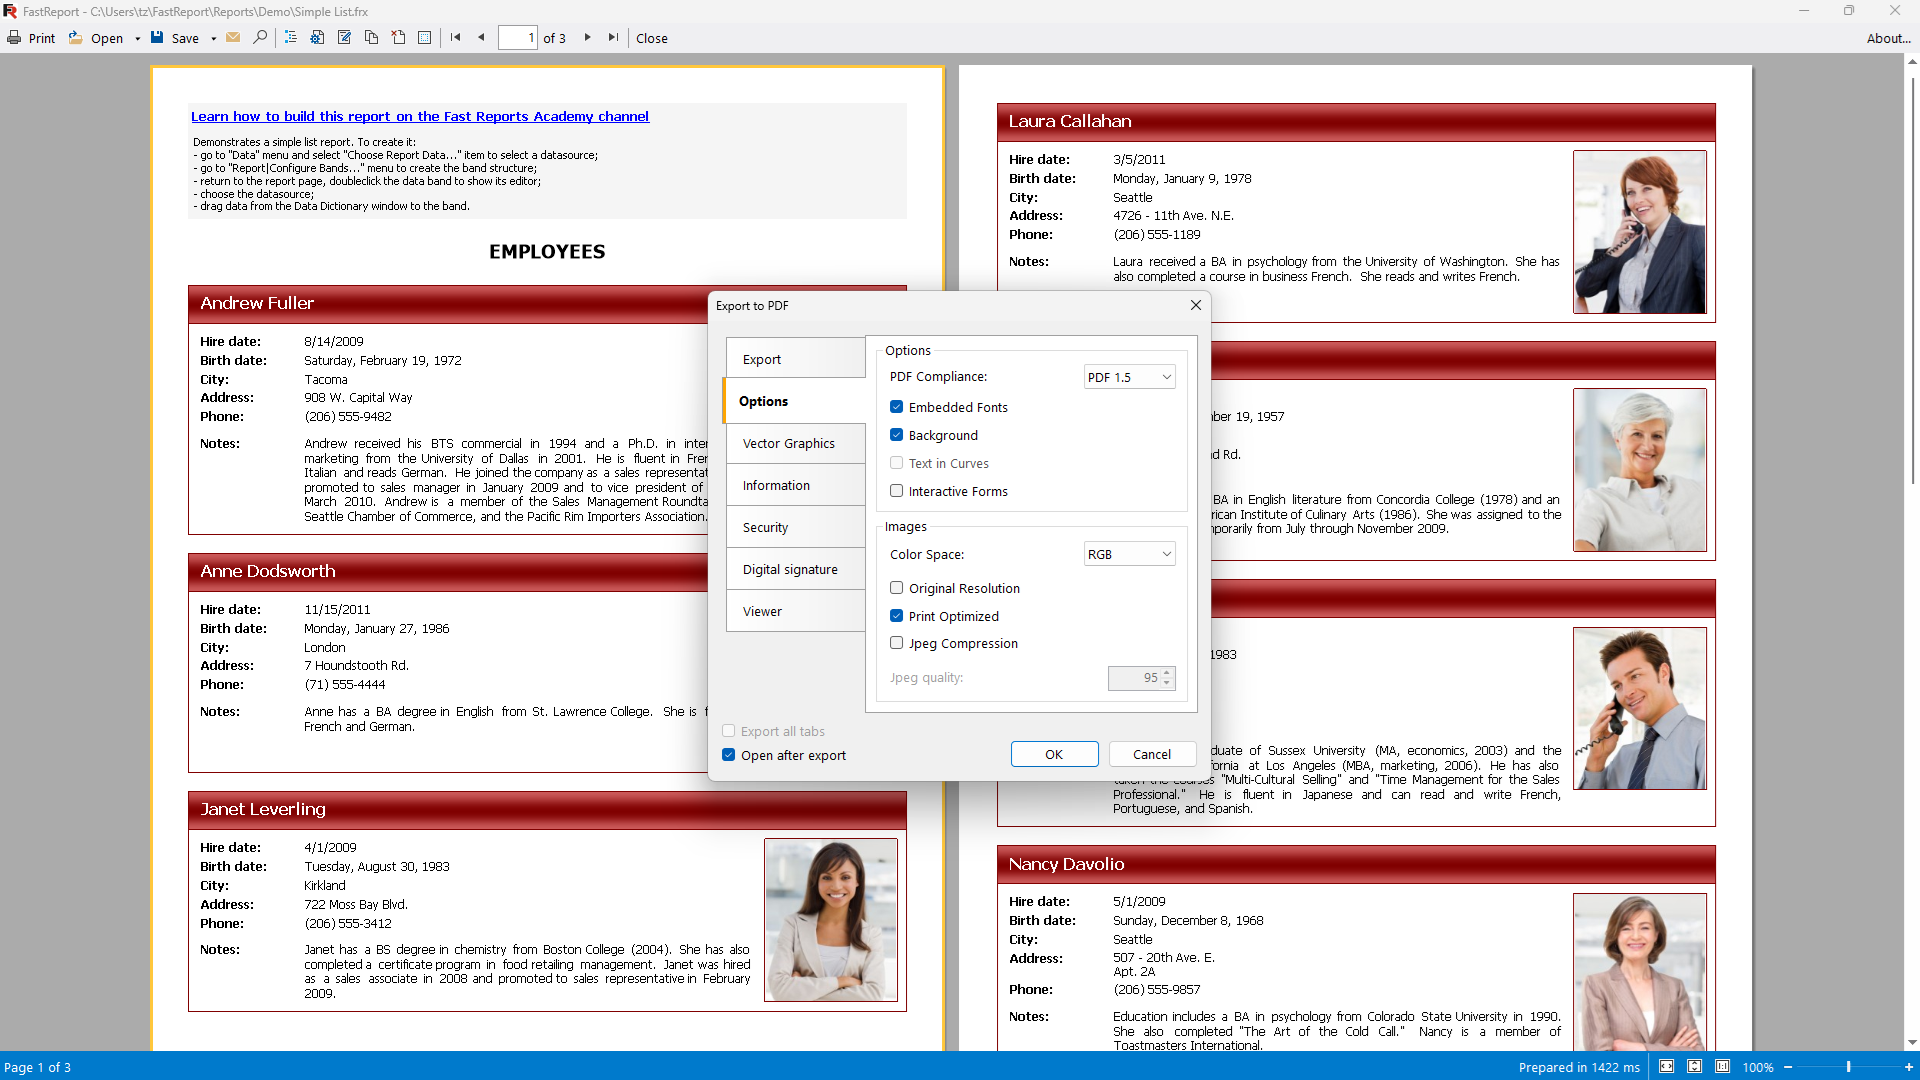
Are these reports safe?
Protecting your analyzed data is very important to us. We offer you 3 ways to increase document confidentiality.
Method 1. In the "Security" tab, specify a password that will be requested when opening the report. The report with the password is saved in encoded form, so don't forget your password! It will be almost impossible to recover the report in this case.
Method 2. Increase the security of your data by using your encryption key. In this case, the report file can only be opened correctly in your program.
Method 3. Apply additional report settings to grant permission to print the document, make changes to the document, and copy text and graphics from the document.

How does the schedule work?
You can set up receiving reports every day, week, or month with a detailed analysis of all information. FastReport Desktop is great for building quarterly reports, monthly sales analysis, and daily generation of payment documents.
Adapt the schedule to suit your needs. Schedule reports to run only when your computer starts. Or enable automatic report generation when you log in.
The ready-made files can be saved locally and downloaded with a mouse click. They can also be sent for printing upon completion of the generation process and uploaded to cloud storage such as OneDrive, Dropbox, Google Drive, Box, E-Mail, and FTP.

Why FastReport Desktop?
You can turn your data into visual information. Create a report, connect to a database, and use graphs to make business decisions. FastReport Desktop will be an excellent replacement for the outdated FastReport Studio solution.
Compatible databases: MS SQL, Oracle, PostgreSQL, MySQL, MongoDB, Firebird SQL, RavenDB, Couchbase, XML, JSON, CSV, SQLite, OLE DB, ODBC.
Export formats: PDF, PDF/A, PDF/X, RTF, Excel 2007, Excel 97, Word 2007, PowerPoint 2007, Open Office Calc, Open Office Writer, XML, XAML, HTML, MHT, BMP, PNG, GIF, JPEG, TIFF, EMF, SVG, CSV, DBF, JSON, Text, ZPL, PPML, PostScript, XPS, LaTeX.
Low-code — we wrote all the code for you. FastReport Desktop does not require programming skills and is suitable even for inexperienced users. The interface contains simple logic and drag-and-drop functions instead of various programming languages. Detailed documentation will simplify the process of mastering the system and connecting it to your IT solutions.
Suitable for installation on the Windows operating system.

Delivery options
| Features |
from $999
|
from $399
|
|
|---|---|---|---|
| Common component interface |
|
|
|
| Report manager |
|
|
|
| Applications |
|
|
|
| FastReport Engine |
|
|
|
| Data connections |
|
|
|
| Reporting features |
|
|
|
| Report objects |
|
|
|
| Barcodes |
|
|
|
| Charts |
|
|
|
| Printing |
|
|
|
| Export to formats |
|
|
|
| Transports |
|
|
|
| Convertors from |
|
|
|