Libraries for executing complex scripts provide the ability to dynamically generate and execute code, which can be useful in various scenarios such as developing plugins, creating user scripts, and so on.
Features and Benefits FastScript .NET

Working in Constrained Environments
FastScript .NET is built on the classic "lexer-parser-interpreter" model. It does not use compilation to machine code, allowing it to operate in environments where code generation is restricted (NativeAOT, iOS, WASM). Its performance is comparable to other solutions that use interpretation (such as Lua and JavaScript), although it is slower than compiled C# code.
FastScript .NET supports script execution on various platforms, including iOS. This ensures flexibility and allows the library to be used in a variety of projects without being limited to a single platform. Compatibility with different platforms enhances its applicability and improves development efficiency.

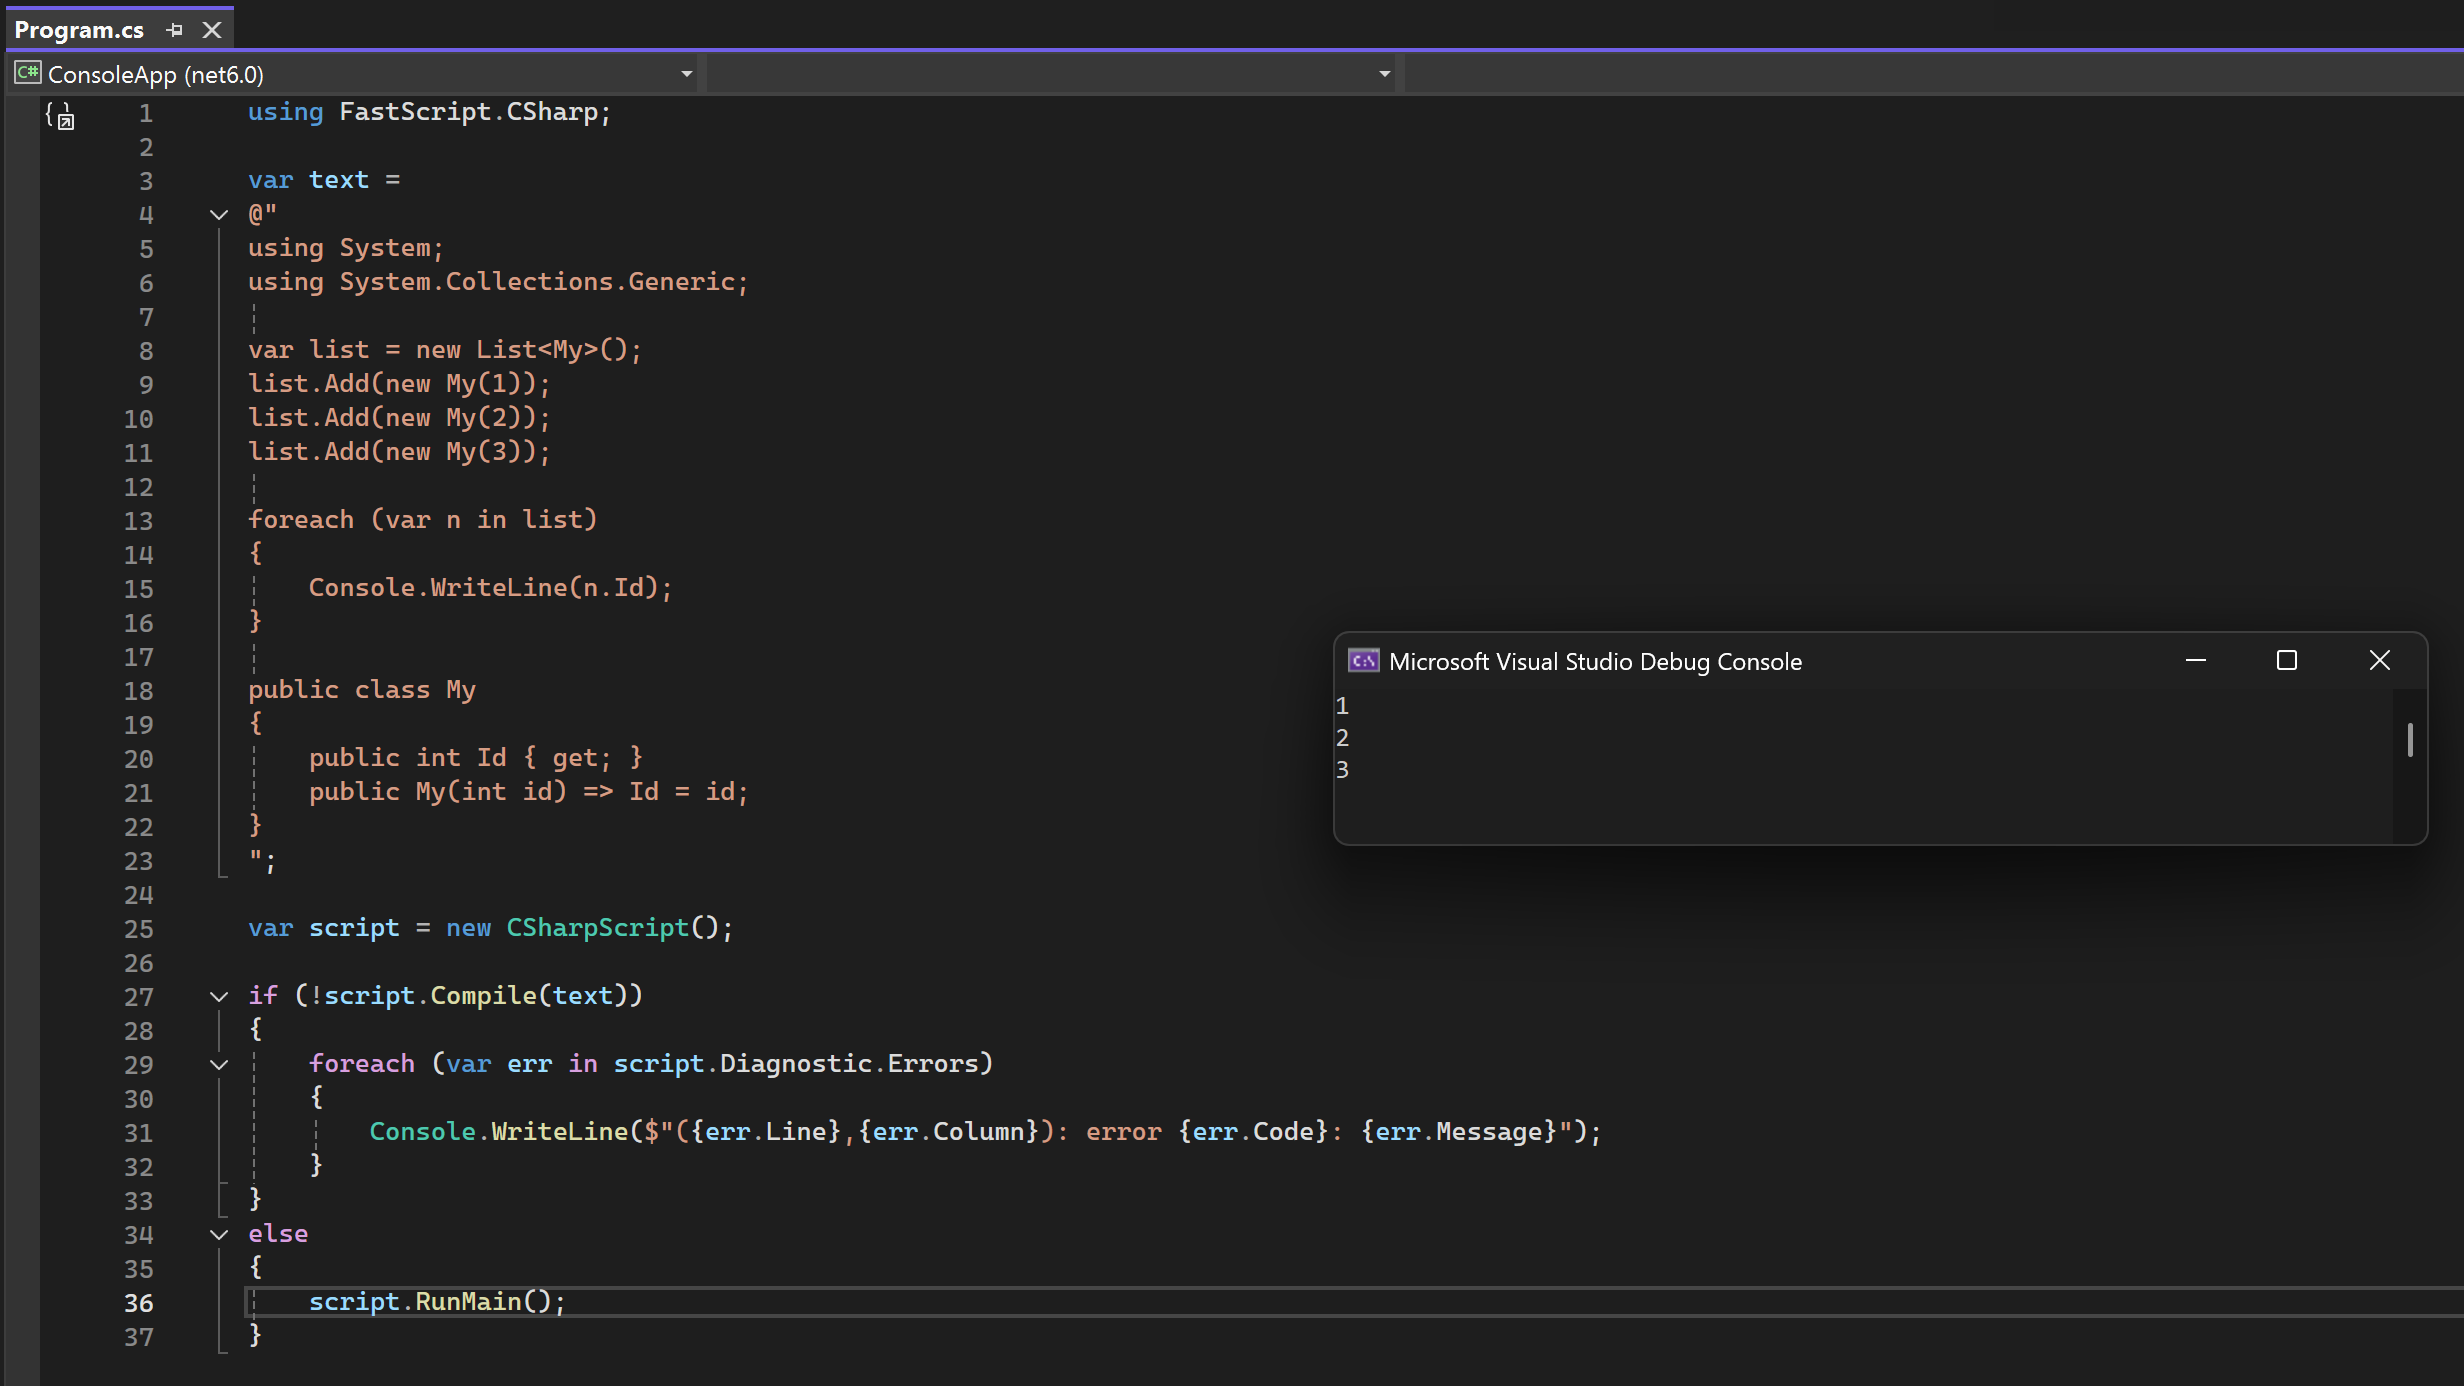
C# as a Scripting Language
FastScript .NET has full integration with the .NET platform and allows the use of all libraries, frameworks, and APIs. A unified code base in C# for scripts eliminates the need to maintain code in multiple languages.
Our library helps optimize resource usage, such as memory and CPU time. This is particularly important for mobile applications and other projects operating under constrained resource conditions.
.png "Replacing Popular Solutions")
Replacing Popular Solutions
The main tools for scripting in C# are CodeDOM (.NET Framework) and Roslyn (.NET). These solutions offer high performance and support all features of C#, but they have some limitations: they do not work in environments where code generation is prohibited, and there are no tools to restrict unsafe APIs.
FastScript .NET is designed specifically for those who want to bypass these limitations. During execution, our library does not create assemblies that remain in memory until the application terminates. Instead, it allocates structures in memory for the script, which are cleaned up by the garbage collector (GC) after the script instance is no longer in use.
How to buy FastScript .NET?
This library is not sold separately, but is included in any version of the .NET report generators. Add to it a cross-platform tool for Avalonia reports, web reporting, FastReport .NET WinForms, WPF, Mono or the most complete of the product sets is FastReport .NET Ultimate.
In addition, in Ultimate .NET includes components for data visualization, namely a business graph with a set of diagrams, and OLAP products for fast processing of large amounts of data.