Toolbar customization and export settings in FastReport.Web for Core
Our users often need to change the appearance of the toolbar or customize the export menu, but not everyone knows how to do this. Let’s say that we already have a finished project. As an example, we can use any report from the FastReport .NET demo application.
Let’s add some colors to our toolbar. We need to write a code that will be responsible for customization:
ToolbarSettings toolbar = new ToolbarSettings()
{
 Color = Color.Red,
 DropDownMenuColor = Color.IndianRed,
 IconColor = IconColors.Left,
 Position = Positions.Left,
 IconTransparency = IconTransparencyEnum.Low,
};
webReport.Toolbar = toolbar;
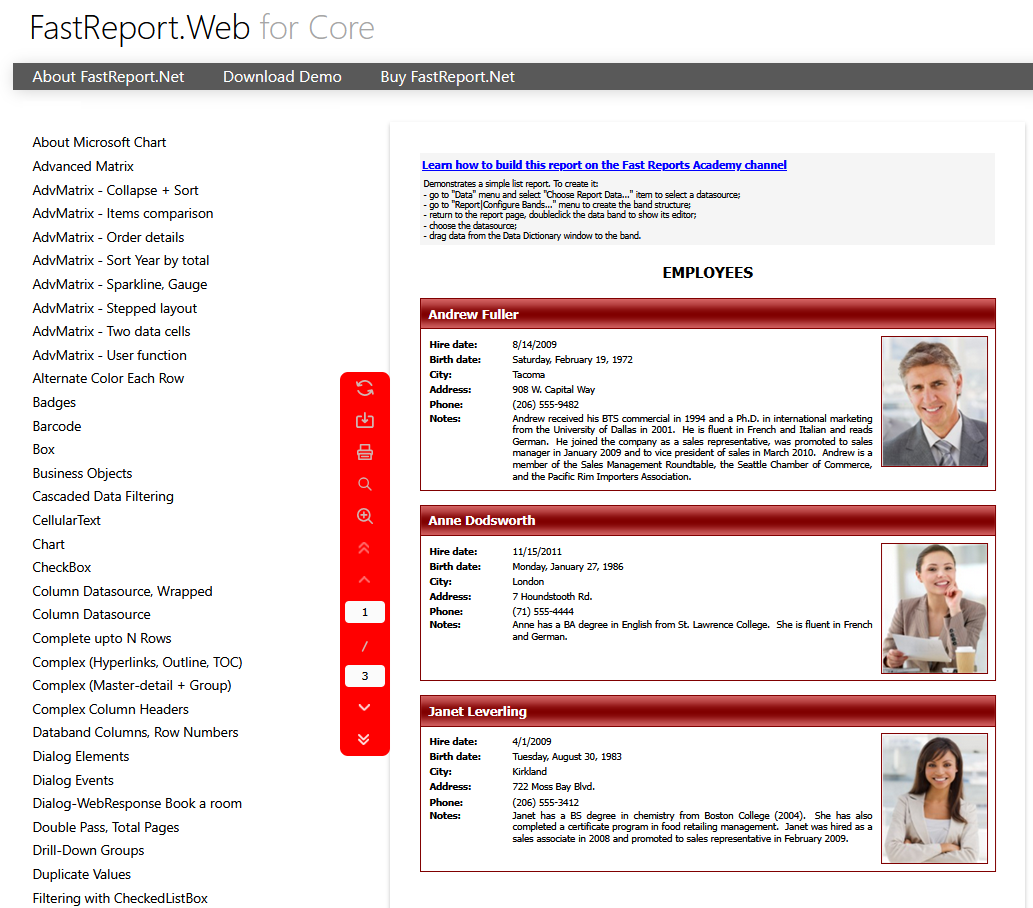
Now let's run our application and see the result:
Let’s take a look at how customization of the toolbar works in FastReport Web for Core in more detail.
All customization parameters are stored as a collection of properties. There are several options of how you can implement changes in the appearance of the toolbar, but they all come down to adding or changing parameters.
Let’s consider the appearance customization from the code, where you can see a list of collections and properties. Here are some of them:
- Color – change the background color of the toolbar.
- DropDownMenuColor – set the background color of the dropdown menu.
- DropDownMenuTextColor – set the text color of the dropdown menu.
- Position – change the toolbar position in the report.
- Roundness – add roundness to the toolbar.
- ContentPosition – change the content position.
- IconColor – change the icon colors.
- IconTransparency – adjust the icons transparency.
- FontSettings – fine-tune text styles.
Let’s assume that we want to change the color of the dropdown menu and display all kinds of export options in it.
To change the appearance of the dropdown menu, you just need to write some changes in the toolbar. But to display all the exporting data options, you need to add the following piece of code:
ToolbarSettings toolbar = new ToolbarSettings()
 {
 Color = Color.Red,
 DropDownMenuColor = Color.Red,
 DropDownMenuTextColor = Color.White,
 IconColor = IconColors.White,
 Position = Positions.Right,
 FontSettings = new Font("Arial", 14, FontStyle.Bold),
 Exports = new ExportMenuSettings()
 {
 ExportTypes = Exports.All
 }
 };
 model.WebReport.Toolbar = toolbar;
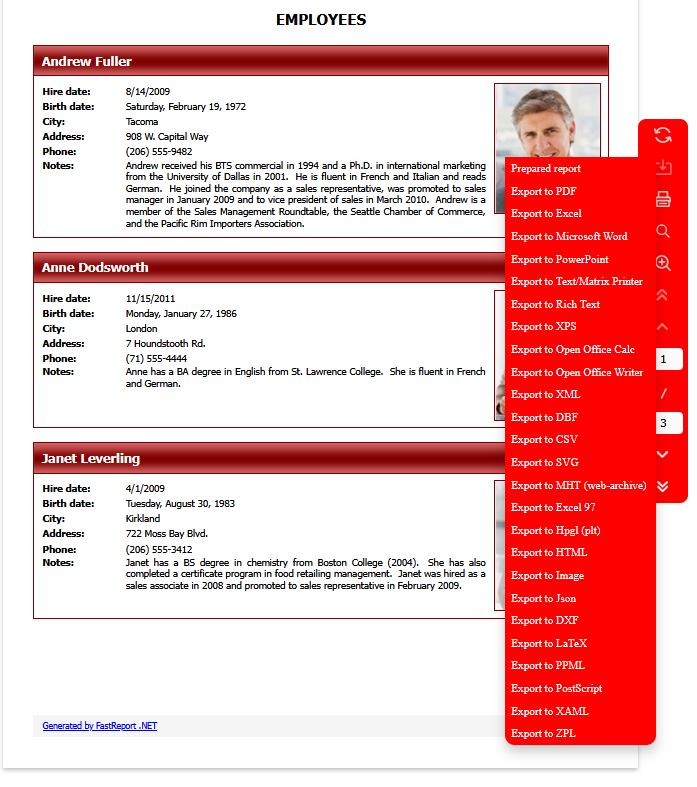
If we run our project, we will see that the dropdown menu has changed, and the exporting data options have significantly increased:
Now we see a customized menu with export formats.
But what if we need only certain formats? For example, we need PDF, XPS, and CSV only. Let’s implement it!
We need to slightly change the export settings in the container:
Exports = new ExportMenuSettings()
{
 ExportTypes = Exports.Pdf | Exports.Xps | Exports.Csv
}
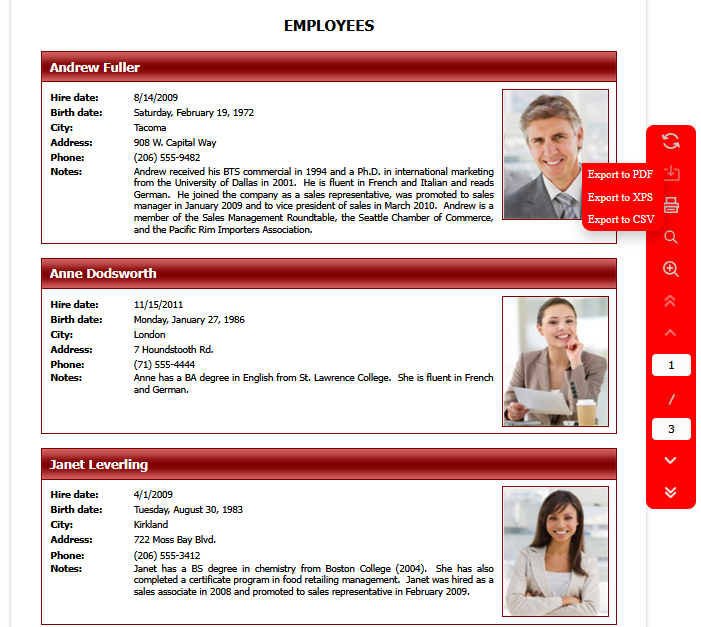
Let’s run our application and see the result:
If only these export options are displayed, then you did everything right.
So, we have described how to customize the toolbar and edit the dropdown menu with export options in FastReport Web for Core. In addition to these examples, you can use the parameters discussed in combination with the other ones.
Customization of objects appearance in Blazor
We also need to mention Blazor, which includes everything that a regular version does, but with more advanced functionality.
We will use the project from the following article: Reports and PDF documents in Blazor.
Let’s customize the toolbar appearance.
Go to the Pages/Index.razor.cs file. Here we will customize the toolbar, and add a part of the code that is responsible for customization in Blazor:
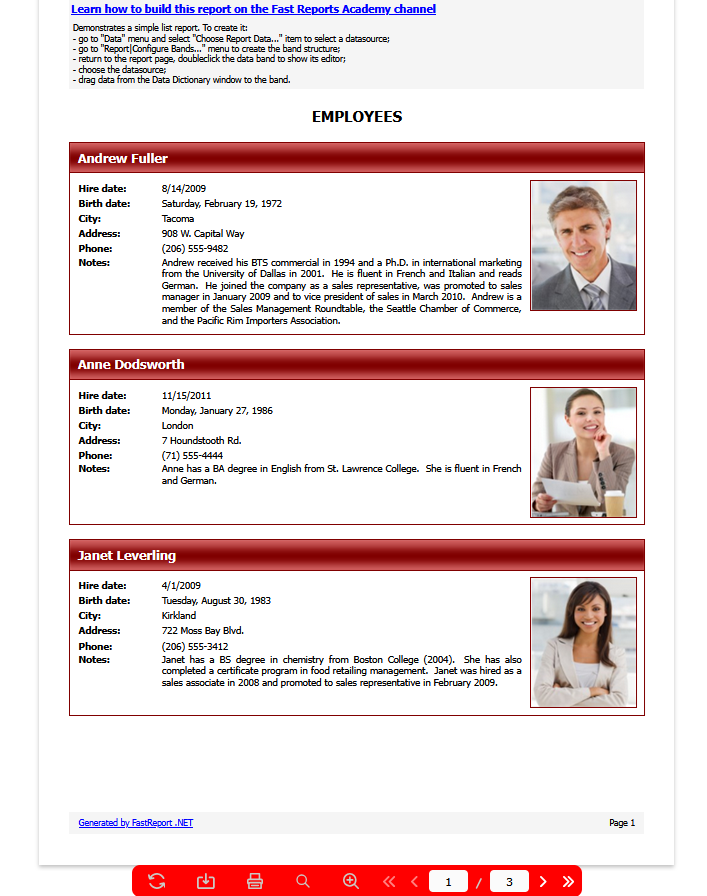
Let’s run our application and see the result:
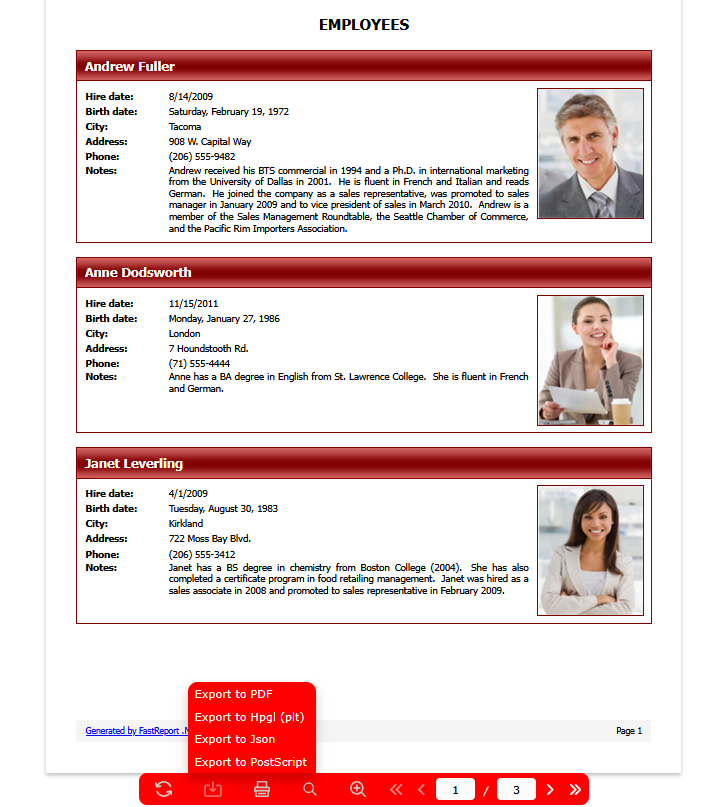
Imagine, that in addition to simple customization we need to add export to PS, HPGL, JSON, and PDF.
Let’s add the following code to implement this:
Exports = new ExportMenuSettings()
{
 ExportTypes = Exports.PS | Exports.Hpgl | Exports.Json | Exports.Pdf
}
As a result, we will get the export settings we need.
At the moment, the Index.razor and Index.razor.cs files look like this:
| Pages/Index.razor | |
1 2 3 4 5 6 7 8 9 10 11 12 13 14 15 16 17 |
@page "/" @page "/{ReportName}" @inject NavigationManager NavManager <WebReportContainer WebReport="@UserWebReport" > @code { [Parameter] public string ReportName { get; set; } protected override void OnParametersSet() { base.OnParametersSet(); Load(); } } |
| Pages/Index.razor/Index.razor.cs | |
1 2 3 4 5 6 7 8 9 10 11 12 13 14 15 16 17 18 19 20 21 22 23 24 25 26 27 28 29 30 31 32 33 34 35 36 37 38 39 40 41 42 43 44 45 46 47 48 49 50 51 52 53 54 55 56 57 58 59 60 61 |
using System; using System.Drawing; using System.IO; using FastReport; using FastReport.Web; using System.Data; namespace Blazor.UserDebugApp.Pages { public partial class Index { private readonly string directory; private const string DEFAULT_REPORT = "Simple List.frx"; public WebReport UserWebReport { get; set; } Report Report { get; set; } DataSet DataSet { get; } ToolbarSettings Toolbar { get; } public Index() { directory = Path.Combine( Directory.GetCurrentDirectory(), Path.Combine("..", "Demos", "Reports")); DataSet = new DataSet(); DataSet.ReadXml(Path.Combine(directory, "nwind.xml")); Toolbar = new ToolbarSettings { FontSettings = new Font("Verdana,Arial sans-serif", 15), Color = Color.Red, DropDownMenuColor = Color.Red, DropDownMenuTextColor = Color.White, IconColor = IconColors.White, Position = Positions.Bottom, ContentPosition = ContentPositions.Center, Exports = new ExportMenuSettings() { ExportTypes=Exports.PS|Exports.Hpgl|Exports.Json|Exports.Pdf } }; } private void Load() { Report = Report.FromFile( Path.Combine( directory, string.IsNullOrEmpty(ReportName) ? DEFAULT_REPORT : ReportName)); Report.RegisterData(DataSet, "NorthWind"); UserWebReport = new WebReport(); UserWebReport.Report = Report; UserWebReport.Toolbar = Toolbar; } } } |
We have covered how to customize the objects appearance and set up the list of export options in Blazor. Now you can use the discussed options in your own applications.
