How to send and receive reports via Gmail in FastReport VCL
In this article, you will be introduced to a new sub-category of transports that became available with version 2022.2.7 and which is called “mail transports”. Now it includes 2 components with access to Gmail and Outlook.
Mail transports have the following functionality:
- saving and loading a report;
- saving the export result.
Saving means sending an email. Uploading involves the use of files attached to the letter, while the letter can be in any mail category (inbox/sent/drafts etc.).
You can read more about using Outlook at the following link.
Important! For the HTTPS protocol to function properly, the following OpenSSL libraries are required: libssl-3.dll and libcrypto-3.dll. These libraries can be found in the directory with the main demo application. They need to be copied to the application's folder or the system directory.
Content
- Adding Transport to the Application and its setting
- Connecting to Gmail
- The future of mаil transports
Current state of transports
FastReport has components called “transports”. They are required to аllow access to:
- cloud storage (Dropbox, OneDrive, Box.com, Google.Drive, Yandex.Disk);
- FTP-servers;
- Email (only sending messages);
- mail service (Gmail, Outlook).
Cloud storage and FTP servers support the following functionality:
- saving and loading a report;
- saving the export result;
- using files (for example, pictures) when building a report.
Adding Transport to the Application and its setting
1. Go to the component palette in the Embarcadero Rad Studio and expand the “FastReport VCL Internet transports” tab.
2. Select the required component and add it to the application form. You can use the context menu on the component — this will establish the connection directly from the development environment. Click on the “Edit connection” submenu.
By default, transports respond only to an authorization response from a browser using port 9898. If this port is already used or you plan to use this port in the future, FastReport VCL allows you to change the port by setting the ListenerPort property.
Further, we will take port 9898 by default. Now let's look at the connection steps for mail transports.
Important! The user does not need to perform all of the following steps every time to authorize. This setting is done only once by the cloud services administrator. After completing all the steps, the obtained authorization data can be used by other users.
Connecting to Gmail
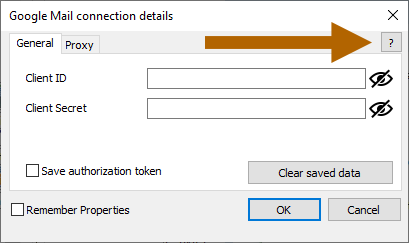
When a user wants to open (or save) a report (or export a result) using the transport, he will see the standard login dialog (if he has not logged in before).
To go to the connection settings page, click on the question mark at the top right of the authorization window. This will open your default browser with the Gmail app settings page. If the user is not authorized in Gmail, an authorization page will open, where you will need to log into your Gmail account.
If this account has not previously added projects to work with the Google API, then you first need to create a new project.
Click on the "Create project" button.
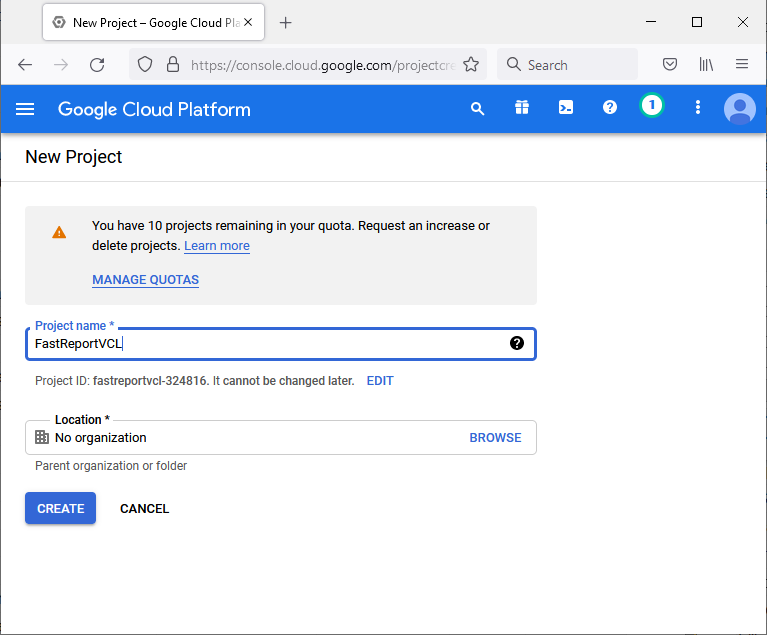
Enter a project name and click "Create".
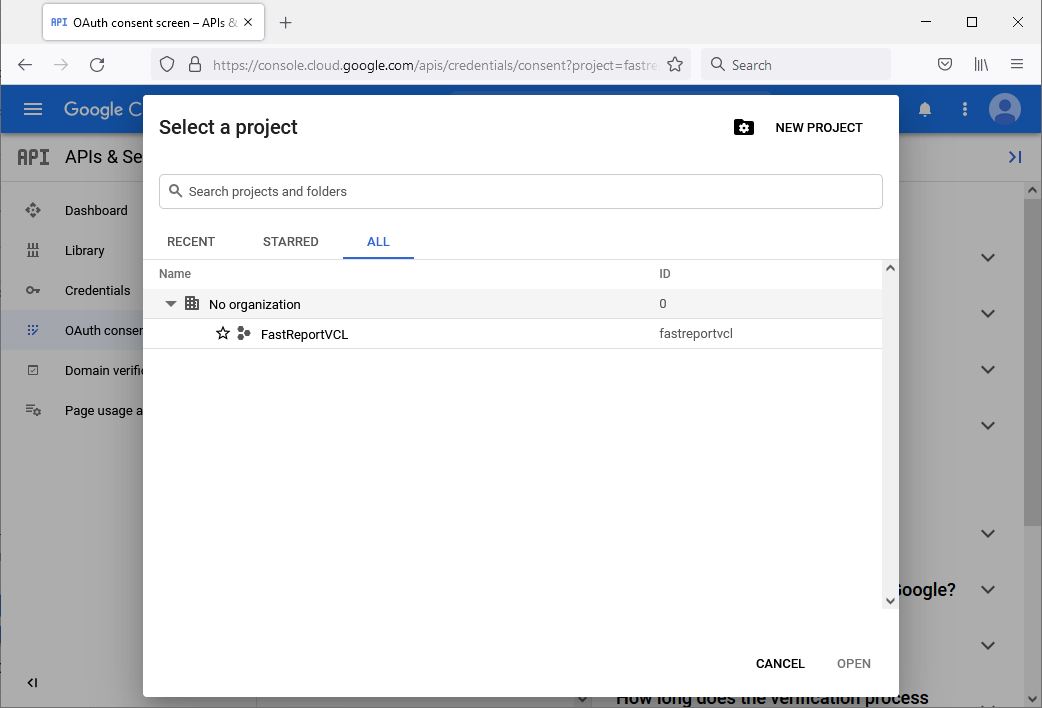
Use the “Select project” button to select the created project.
Select the project you created earlier and click “Open”.
Go to the “OAuth consent screen” tab. We need to select the users that can use cloud storage: internal use (only users of the organization) or for all Google accounts. Then click the “Create” button.
Next, you need to fill in the application name and contact e-mail. Click "Save and continue".
This step allows you to set the scope, you can skip it for Google Mail. Click on "Save and continue".
The next step allows you to setup access to the application for a specific group of users. You can skip this step if you are going to аllow access to the application. Click "Save and continue".
The application has been created, go to the “Back to dashboard” tab.
Go to the “OAuth consent screen” tab and click on “PUBLISH APP” to open access to this application. Open the following link and enable the Google Mail API for the created project by clicking the “Enable” button.
Now you need to create authorization keys, go to the "Credentials" tab.
Click on "Create Credentials" and select "OAuth client ID".
You should select the type of application (in our case, Desktop App).
Enter any name for the connection and click "Create". The authorization client will be created.
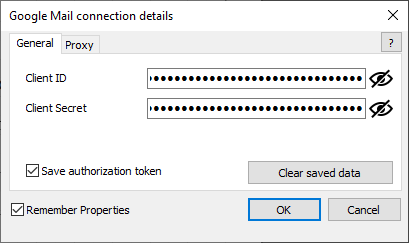
Copy the fields “Client ID” and “Client Secret” into the corresponding entry fields of the FastReport VCL authorization dialog.
Click OK. A new window should open in your default browser. The screen will prompt you to select an account for authorization.
Next, we will see that Google hasn’t verified the application. Click “Advanced” and Go to the Application name (unsafe).
Another dialog asking аbout access to the application will аppeаr, select access rights and click “Continue”.
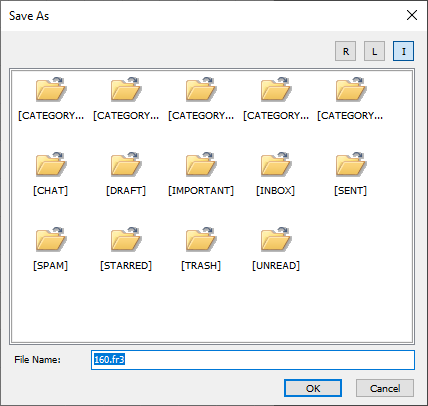
You can close the browser window. If the connection is successful, you will see the standard FastReport VCL file browser.
This completes a successful connection setup. Now you know how to connect to Gmail in FastReport VCL.
The future of mаil transports
Functionally, cloud transports support all the previously mentioned features. The graphic design of mail transports during loading will be improved in further releases. So far, the graphical user interface (GUI) is used as cloud storage. Now categories and messages are implemented as folders and attachments as files.
In the future, it is planned to improve the graphic component, making it more user-friendly. Functional improvements will include a search by mаil.
The GUI of the send message window will also be slightly changed.
We will also note the temporary feature of sending the export result. If the export generates multiple files, then each file is sent in its own email. That is, if you want to send the export result to a page-by-page PNG, then each picture will be sent in a separate email.
Almost all exports to FastReport VCL generate only 1 output file (PDF, DOCX, RTF and others), most users won’t notice this.
We will fix the bug in future releases. For all questions, contact our Support.


