Downloading the report as an Excel document in MVC
Previously, we already examined an example of displaying a printing dialog of a report in HTML and PDF formats. The aim of this article is to show how to save reports in the desired format, providing an example of Excel.
We use the MVC web application.
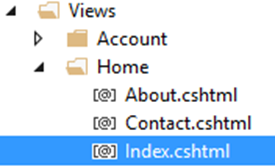
There is a button, which is provided to save a report. Add it to the web page Home. For this, open the Index.cshtml file in the Views folder.

Place the following code in the desired location:
1 2 3 4 5 6 7 |
@using (Html.BeginForm("Save", "Home")) { <input id="print" type="submit" value="Save report in Excel" /> } |
There "Save" - is the name of the handler in the controller. "Home" - is the controller.
Now add the handler "Save" to the Home page controller. For this, open the HomeController.cs file in the Controllers folder:

The handler will look like this:
1 2 3 4 5 6 7 8 9 10 11 12 13 14 15 16 17 |
public void Save() { WebReport webReport = new WebReport(); System.Data.DataSet dataSet = new System.Data.DataSet(); dataSet.ReadXml("C://Program Files (x86)//FastReports//FastReport.Net//Demos//Reports//nwind.xml"); webReport.Report.RegisterData(dataSet, "NorthWind"); webReport.Report.Load("C://Program Files (x86)//FastReports//FastReport.Net//Demos//Reports//Simple List.frx"); webReport.ExportExcel2007(); } |
Let us take a look at the procedure:
- Create an instance of an object of WebReport;
- Create an instance of an object of DataSet to work with date;
- Load the xml datebase file;
- Register the source of the date in the report object;
- Load the report template in WebReport object;
- Save the report in Excel format.
Now you need to add the handler in the Web.config file, which is located in the root of the project:
1 2 3 4 5 |
<handlers> <add name="FastReportHandler" path="FastReport.Export.axd" verb="*" type="FastReport.Web.Handlers.WebExport"/> </handlers> |
Run the application to see the button:

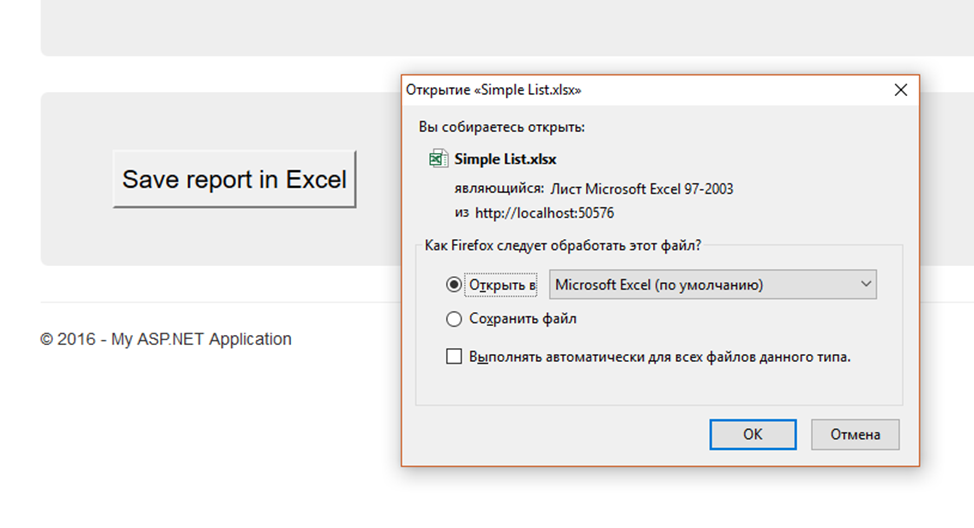
Click on it. The program will display a dialog to save the report file in xlsx format.

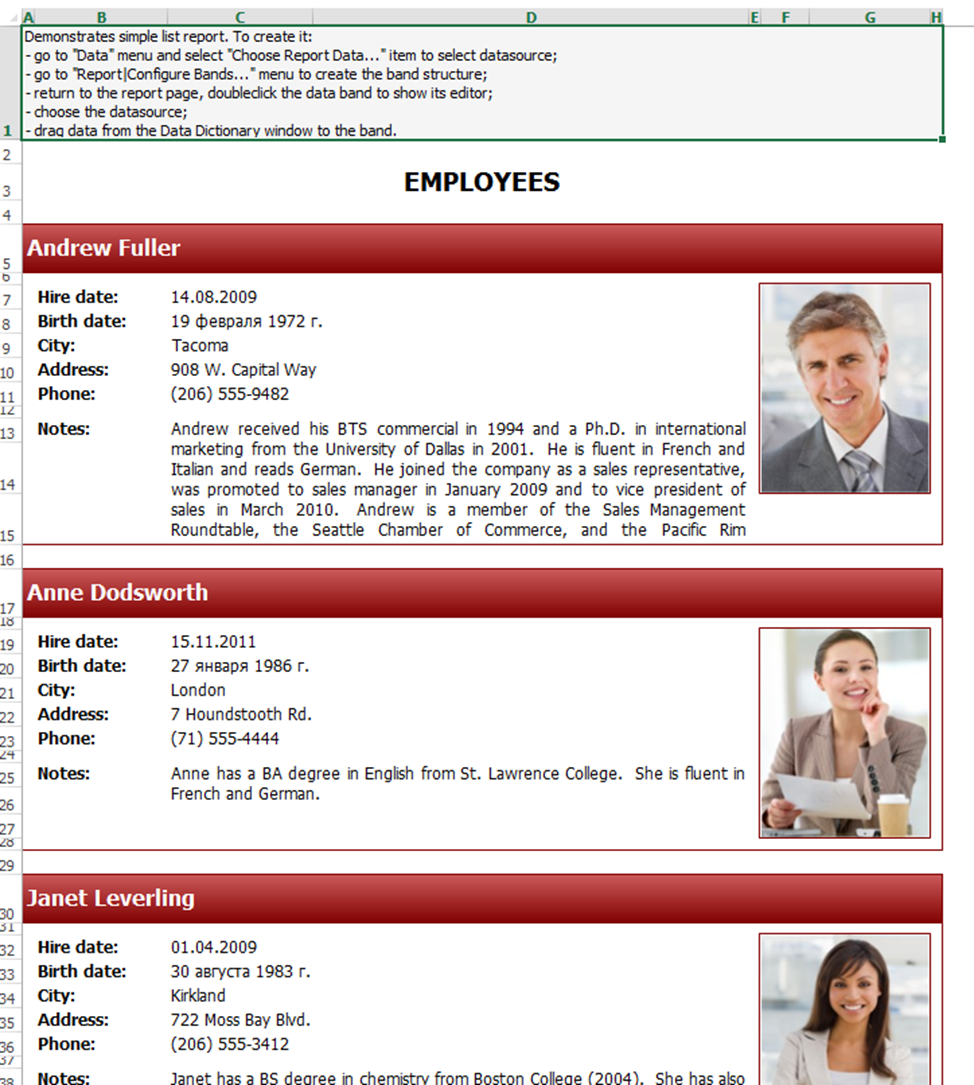
After downloading the report, it will be open:

Summing up, we can conclude that using the shown application, it is possible to save your report in different formats, available for exporting reports. Using the shown code allows users of the web application to download a report in the desired format without displaying the report itself.